It’s been raining for three days straight — nothing unusual for a British spring — and your patio has turned into a paddling pool. Water pools against the back wall, creeps towards the door threshold, and you’re laying towels like sandbags while wondering why the builders didn’t think about this. Patio drainage problems are extremely common in UK gardens, and they get worse with age as ground settles, joints fail, and nearby planting changes water flow. The fix is usually simpler and cheaper than you’d expect.
In This Article
- Why Patio Drainage Goes Wrong
- Assessing Your Drainage Problem
- Linear Channel Drains
- Point Drains and Gullies
- French Drains and Soakaways
- Improving Patio Gradient
- Permeable Paving Solutions
- Drainage for Specific UK Problems
- DIY vs Professional Installation
- Maintenance and Long-Term Care
- Frequently Asked Questions
Why Patio Drainage Goes Wrong
Understanding the cause saves you from fixing the wrong problem.
Insufficient Fall
A patio should slope away from the house at a minimum gradient of 1:80 — that’s roughly 12mm per metre. Many older patios were laid flat or have settled over time, creating low spots where water collects. Even a few millimetres of settlement can redirect water back towards the house.
Blocked Joints and Sealed Surfaces
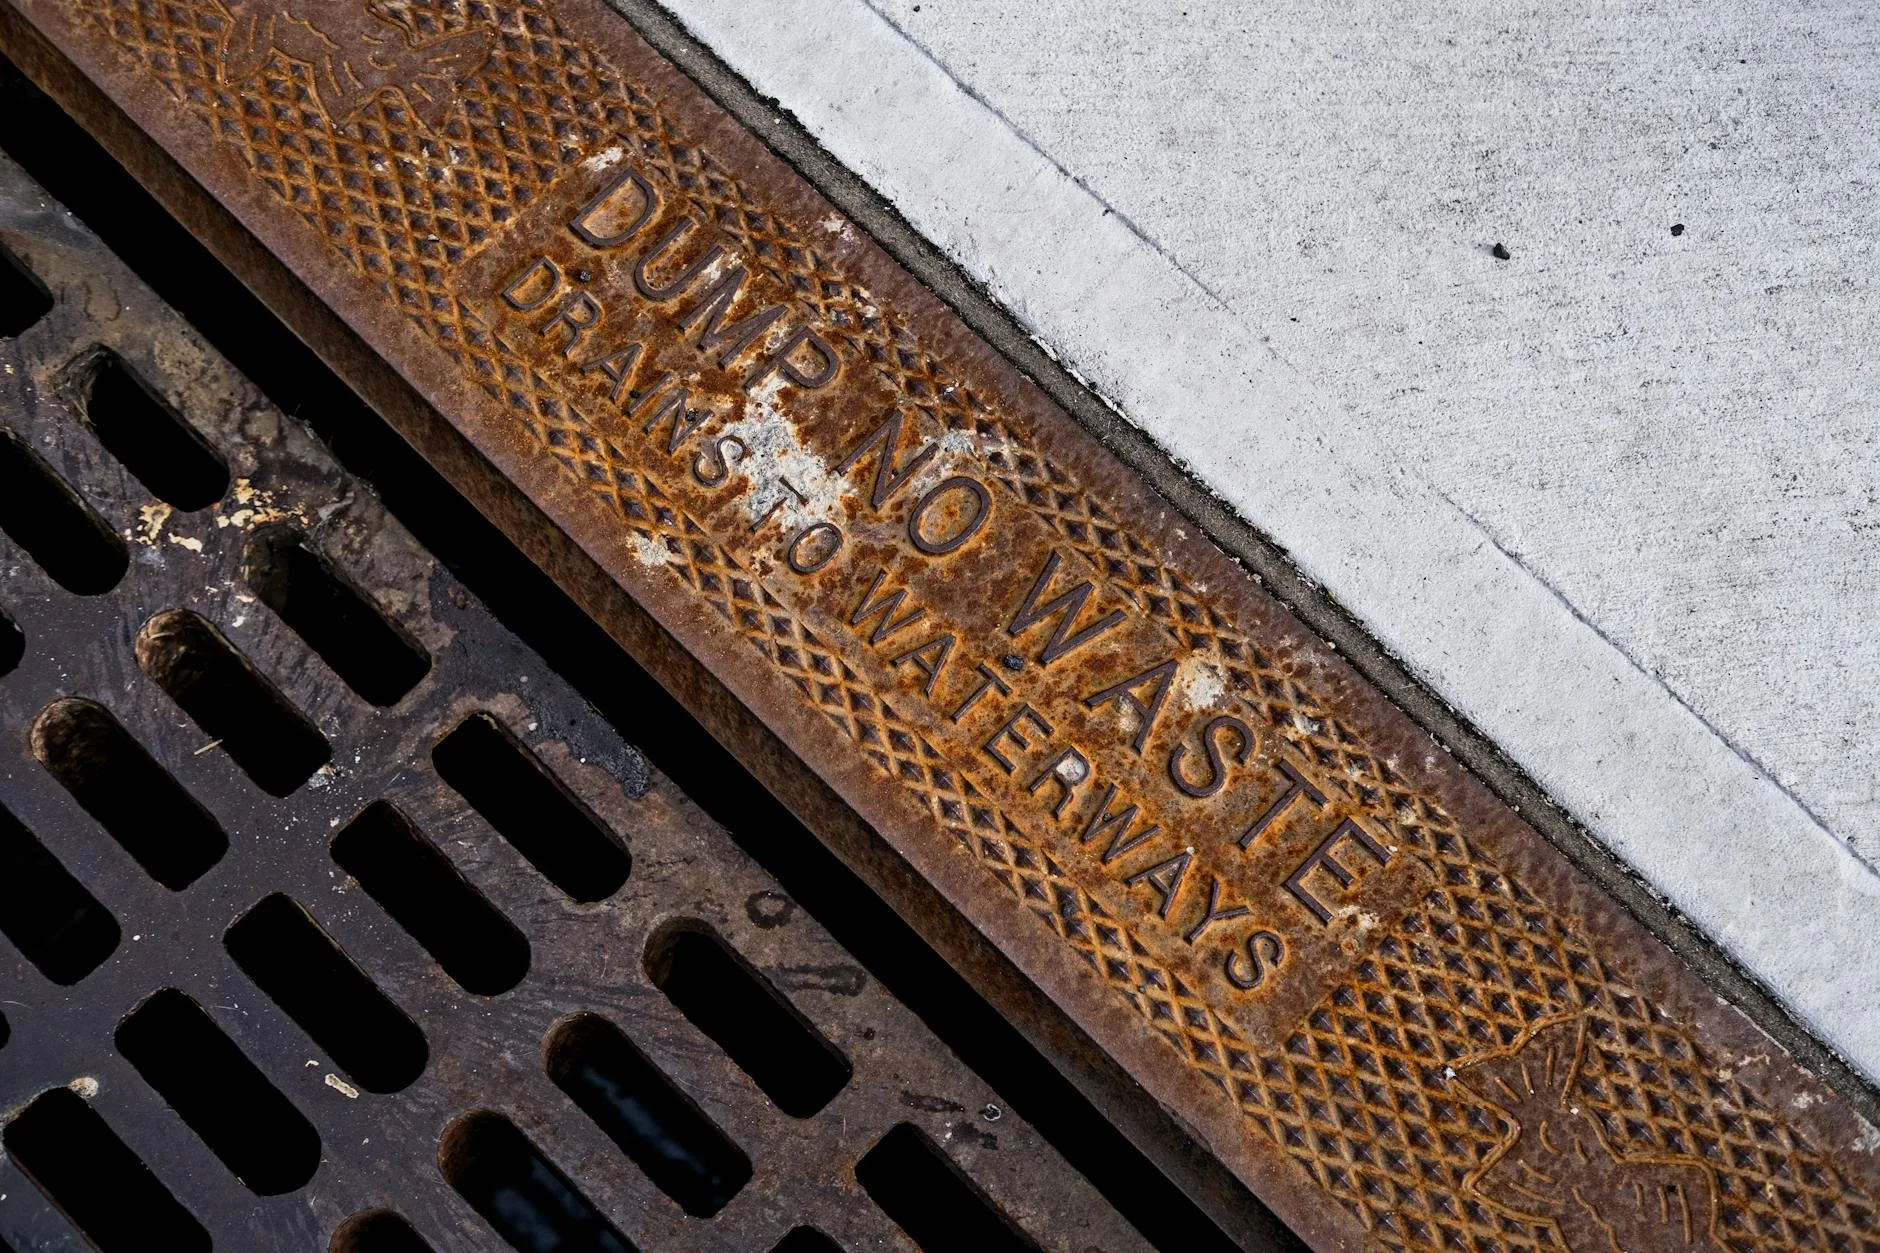
Jointing compound breaks down over time, and algae, moss, and debris fill the gaps. On natural stone patios, this prevents water from draining between slabs. On porcelain patios (which are essentially impermeable), all drainage relies on the joints and surface gradient — if either fails, water has nowhere to go.
Ground Level Changes
Raised beds, new borders, and soil build-up along patio edges can create a dam effect. We’ve seen patios that drained perfectly for years until a raised bed was built along the boundary, trapping water against the paving.
Overwhelmed Existing Drainage
British rainfall can dump 30-50mm in a heavy downpour. If your patio’s drainage was designed for light rain, a proper storm overwhelms it. According to Met Office data, UK annual rainfall has increased by about 8% since the 1970s, and heavy rainfall events are becoming more frequent. Drainage systems that worked fine 20 years ago may now be inadequate.
Assessing Your Drainage Problem
Before buying anything, spend 15 minutes during the next heavy rainfall watching where water goes.
What to Look For
- Where does water pool? — mark the low spots with chalk or stones
- Where does it come from? — is it rainwater landing directly on the patio, or runoff from a higher area (roof, lawn, neighbour’s garden)?
- Where does it need to go? — identify the nearest drain, soakaway, or area where water can safely discharge
- How quickly does it clear? — if water drains within an hour of rain stopping, the problem is volume capacity. If it sits for 12+ hours, the problem is gradient or blocked drainage
The Spirit Level Test
Place a long spirit level (or a straight plank with a spirit level on top) across your patio in multiple directions. This shows you the actual fall — or lack of it. You’re looking for a consistent slope away from the house. Any areas sloping towards the house or sitting dead flat are your problem zones.
Linear Channel Drains
The most common solution for patios that slope towards the house or have water pooling against a wall.
What They Are
A channel drain (also called a slot drain or line drain) is a narrow trough recessed into the patio surface, covered by a grate. Water flows along the surface into the channel, then through a pipe to a drain or soakaway. They’re typically installed across the full width of the patio at the lowest point.
When to Use Them
- Water pooling against the house wall — install the channel parallel to the wall, 150-300mm from the building
- Patio draining in the wrong direction — a channel at the low point catches water before it reaches the house
- Between patio and lawn — prevents waterlogged lawn runoff from flooding the patio
DIY Installation
- Mark the channel line — use a string line at the correct height, allowing for the channel depth plus 50mm concrete bed
- Cut the patio slabs along the channel line using an angle grinder with a diamond blade. Wear a dust mask, eye protection, and ear defenders
- Excavate the trench — dig to the channel depth plus 50mm, with a slight fall towards the outlet (1:100 minimum)
- Lay a concrete bed — 50mm of semi-dry concrete mix. Set the channel sections on top, checking the fall with a spirit level
- Connect to drainage — the outlet connects to a 110mm underground pipe running to a drain or soakaway
- Backfill and re-joint — mortar around the channel edges and replace any cut slabs
Cost
- Channel drain kit (3m, with grate): about £40-80 from Screwfix or B&Q
- Professional installation: about £400-800 depending on length and complexity
- Materials total (DIY, 3m run): about £80-120 including pipe, concrete, and fittings
Point Drains and Gullies
For localised pooling — where water collects in one specific low spot rather than across the whole patio.
What They Are
A point drain (or yard gully) is a single drain unit set into the patio at the lowest point. It connects to an underground pipe that carries water to the main drainage system. They’re essentially the same as the gully outside your back door, but installed wherever you need one.
When to Use Them
- Single low spot that can’t be corrected by re-laying
- Centre of a large patio where water gravitates to the middle
- At the base of steps where water runs down and collects
Installation Considerations
Point drains need a minimum pipe gradient of 1:80 to function without silting up. If your patio is at a similar level to the nearest drain connection, you may not have enough fall to make a point drain work. Check levels before committing.
French Drains and Soakaways
When there’s no convenient drain connection, you need somewhere for the water to go. That’s where French drains and soakaways come in.
French Drains
A French drain is a gravel-filled trench with a perforated pipe at the bottom. Water enters through the gravel, flows along the pipe, and either discharges to a lower point or feeds into a soakaway. They’re typically installed along the patio edge, hidden under a gravel border or planting strip.
Soakaways
A soakaway is an underground chamber (or pit filled with rubble/crate units) where water collects and slowly disperses into the surrounding ground. Building regulations require soakaways to be at least 5 metres from any building and not in an area with a high water table. Your local council’s building control team can advise on specific requirements for your area.
Sizing a Soakaway
For a typical UK patio (15-25 square metres), a soakaway needs to hold approximately 300-500 litres. Modern soakaway crate systems (about £25-40 per crate from B&Q or Screwfix) make installation much easier than the traditional rubble-filled pit — they hold more water in less space and are lighter to handle.
DIY Soakaway Installation
- Choose a location — 5m+ from the house, away from trees and boundaries
- Dig the pit — typically 1m x 1m x 1m for a standard patio. Deep enough to sit below the inlet pipe
- Line with geotextile membrane — prevents soil from clogging the soakaway
- Stack the soakaway crates inside the membrane
- Connect the inlet pipe from your channel drain or French drain
- Wrap the membrane over the top and backfill with soil
Improving Patio Gradient
Sometimes the simplest solution is fixing the slope rather than adding drainage infrastructure.
Re-Laying Problem Slabs
If only a few slabs have settled, lifting and re-bedding them on fresh mortar with the correct fall is simple:
- Lift the sunken slabs — a flat bolster chisel and club hammer to break the mortar bed
- Add mortar to build up the bed to the correct height
- Re-lay with a 1:80 fall away from the house
- Re-joint with a flexible jointing compound that won’t crack
Overlay Solutions
For a patio with widespread gradient problems, an overlay of porcelain pavers or resin-bound gravel on a correctly graded screed can solve drainage and refresh the appearance simultaneously. This adds 20-40mm to the surface height, so check that door thresholds and DPCs (damp proof courses) remain above the new level.
Permeable Paving Solutions
The greenest approach to patio drainage — letting water pass straight through the surface.
Permeable Block Paving
Block pavers laid on a permeable sub-base (graded aggregate, no sand fines) allow water to drain between the blocks into the ground below. The system eliminates surface water entirely in most rainfall conditions. It’s more expensive to install than standard paving but requires no drainage infrastructure.
Resin-Bound Gravel
A mix of natural aggregate and UV-stable resin trowelled onto a permeable base. Water drains through the surface like a sieve. It looks clean and contemporary, costs about £40-80 per square metre installed, and works well for smaller patios and paths.
Gravel Borders
Even adding a 300mm gravel strip along the patio edge gives surface water somewhere to drain. It’s the cheapest permeable solution — a bag of decorative gravel from B&Q costs about £5-8 and covers roughly 0.5 square metres at 50mm depth.
Drainage for Specific UK Problems
Clay Soil Gardens
Heavy clay soil doesn’t absorb water — it sits on the surface and makes drainage systems less effective because soakaways empty slowly. In clay areas, you may need a larger soakaway, a French drain that runs to a lower discharge point, or a connection to the foul water drainage system (with water company permission).
Sloping Gardens
If your garden slopes towards the house, surface water from the entire garden funnels onto your patio. A cut-off drain (a channel drain installed across the slope above the patio) intercepts water before it reaches the paved area. Combine with a retaining wall or raised planter for a permanent solution.
Flat Gardens with High Water Tables
In areas like the Fens, Somerset Levels, or Thames floodplain, the water table may sit within a metre of the surface for much of winter. Soakaways don’t work when the ground is already saturated. In these areas, you need to discharge to the surface water drainage system or a nearby ditch/watercourse, subject to Environment Agency permissions.
Shared or Terraced Garden Boundaries
If your neighbour’s garden is higher than yours, their runoff becomes your problem. A French drain along the boundary intercepts the water before it reaches your patio. This is your responsibility to manage — you can’t require your neighbour to address their drainage for your benefit, though a friendly conversation often leads to a shared solution.
If you’re thinking about laying a new patio from scratch, getting the drainage right at that stage is ten times easier and cheaper than retrofitting later. And for keeping the surface in good condition, our patio cleaning guide covers moss and algae removal that can contribute to blocked drainage joints.
DIY vs Professional Installation
DIY-Friendly Projects
- Gravel borders — simple excavation, membrane, and gravel fill
- Re-laying a few sunken slabs — basic skill with mortar and a spirit level
- Short channel drain runs (under 3m) — manageable with an angle grinder and basic concreting
- Small soakaways — digging and assembling crate systems
Hire a Professional For
- Connection to foul water drains — must be done by an approved installer and inspected by building control
- Channel drains over 5m — the cutting, levelling, and pipe runs become complex
- Any work near building foundations — excavation within 1m of a wall can undermine foundations
- Planning permission queries — large soakaways or drainage changes may need building regulations approval
Finding a Good Contractor
Ask for references from neighbours (drainage work is local and visible), check reviews on Checkatrade or MyBuilder, and ensure they carry public liability insurance. For any work connecting to public drains, they need to be a qualified drainage contractor.
Maintenance and Long-Term Care
Regular Clearing
- Clear leaves and debris from channel drain grates monthly during autumn and winter
- Flush channel drains with a hose twice a year to prevent silt build-up
- Check soakaway performance annually — if water backs up after heavy rain, the soakaway may need clearing
- Re-joint any failed patio joints promptly — gaps allow water under slabs, causing further settlement
Signs of Drainage Failure
- Water backing up from previously working drains — blockage downstream
- Slow drainage that worsens over time — silt accumulation in pipes or soakaway
- New pooling in previously dry areas — ground movement or pipe collapse
- Damp patches on house walls — water is getting too close to the building. Address urgently
Frequently Asked Questions
Do I need planning permission for patio drainage? Generally no, for domestic drainage that discharges to a soakaway or existing surface water drain. However, connecting to a foul water drain requires approval from your water company, and large soakaways may need building regulations sign-off. Check with your local building control office if you’re unsure.
Can I connect patio drainage to the sewer? You can connect to the surface water sewer (separate system) without permission in most areas. Connecting to a combined or foul sewer requires permission from your water company. Never connect surface water to a foul-only sewer — it’s illegal and causes sewage overflow during heavy rain.
How much fall does a patio need for proper drainage? A minimum of 1:80 (12.5mm per metre) is the standard recommendation. Some installers use 1:60 (about 17mm per metre) for extra safety margin. The fall should always direct water away from the house towards a drain, soakaway, or garden area.
Will a French drain work in clay soil? A French drain collects and redirects water well in any soil type. However, in clay soil, the water needs somewhere to go — a soakaway won’t empty quickly in clay. You’ll need a longer French drain that runs to a lower discharge point, a larger soakaway, or a connection to the drainage system.
How much does professional patio drainage cost? A 3m channel drain with soakaway connection typically costs £400-800 professionally installed. A full French drain along a garden boundary runs £50-80 per metre including materials and labour. Complex jobs involving drain connections and building control can reach £1,500-2,500.
Keep reading on Plot & Patio: How to Stop Weeds Growing Between Patio Slabs, Patio Materials Compared: Concrete, Stone, Porcelain & Composite, How to Lay a Patio: Step-by-Step DIY Guide, Best Pressure Washers 2026 UK: Patio, Car & Decking.