You start with a sloping patch of garden and a simple idea: level it off, put some slabs down, add chairs, job done. Then you realise the patio needs a retaining edge, the water needs somewhere to go, the finished level might overlook next door, and the whole thing is suddenly less “quick weekend project” and more “measure twice, phone a professional if this gets structural”. If you want to know how to build raised patio areas properly in a UK garden, the important bit is not laying the slabs. It is building the platform underneath so it stays level, drains well and does not shove a wall sideways after the first wet winter.
In This Article
- Quick Answer: Should You Build a Raised Patio Yourself?
- What Counts as a Raised Patio?
- Planning Permission and Neighbour Privacy
- Tools, Materials and Costs
- Step-by-Step: How to Build Raised Patio Areas
- Build the Retaining Edge First
- Fill, Compact and Drain the Base
- Lay the Patio Surface
- Steps, Edges and Finishing Details
- Common Raised Patio Mistakes
- Frequently Asked Questions
Quick Answer: Should You Build a Raised Patio Yourself?
You can build a small raised patio yourself if it is only one or two low steps above the garden, the retaining edge is modest, the ground is stable, and you are comfortable with excavation, compacting, levels and drainage. A simple 150-300mm raised area is realistic for a careful DIYer.
You should get a landscaper, builder or structural advice if:
- The patio is more than about 300mm above surrounding ground: planning and privacy issues become more likely
- The retaining wall is high or load-bearing: the wall is holding back compacted fill, people and furniture
- The garden slopes towards the house: drainage mistakes can push water where you least want it
- You need steps, balustrades or a platform near a boundary: falls and overlooking matter
- The soil is clay, made ground or very wet: movement and drainage become harder to predict
The most sensible DIY route is a low raised patio with a solid block or sleeper edge, compacted Type 1 sub-base, proper fall away from the house and paving laid on a full mortar bed. If you are picturing a metre-high terrace with a retaining wall, drainage pipe and steps, stop pretending it is just a patio. That is hard landscaping.
For a flat-ground version, our existing how to lay a patio guide is the better starting point. This guide focuses on the raised bit: retaining, filling, drainage and safe levels.
What Counts as a Raised Patio?
A raised patio is any paved sitting area built above the surrounding garden level. It might be one shallow step up from the lawn, a terrace cut into a slope, or a platform outside patio doors where the garden drops away.
The height changes the job. A 100mm lift to correct a slight slope is mostly base preparation. A 450mm raised terrace needs a proper retaining edge. A 900mm raised patio needs careful wall design, privacy thinking and probably professional input.
The Three Common Types
- Low raised patio: around 100-300mm high, usually one step, often manageable for DIY
- Terraced patio on a slope: built into a garden level change, needs retaining and drainage
- High raised platform: more like a hard-landscaped terrace, with planning, privacy and fall-risk issues
The higher the patio, the less forgiving it becomes. Gravity is patient. It will wait until the first saturated winter and then show you exactly where you rushed the retaining edge.
Raised Patio vs Decking
Decking is lighter, quicker and often easier on sloping gardens. A paved raised patio feels more permanent, handles fire pits and furniture better, and can look sharper with porcelain or natural stone. It is also heavier by a long way.
If the ground is steep, access is awkward or you want a high platform, decking might be the more practical answer. If you want a hard, durable area for dining, planters and outdoor cooking, a raised patio is worth the extra work.
Planning Permission and Neighbour Privacy
Do not skip this bit. Raised patios can create overlooking issues, especially in terraced and semi-detached gardens where a small height change gives a direct view into next door.
The Planning Portal’s patio and driveway guidance is the first place to check for general planning considerations: Planning Portal patio and driveway guidance. GOV.UK’s householder technical guidance also treats raised platforms carefully; garden decking is commonly referenced around the 0.3m height point in permitted development guidance: GOV.UK householder technical guidance PDF.
What to Check Before You Dig
- Finished height: measure from the highest adjacent ground level, not just where it feels convenient
- Boundary distance: a raised sitting area beside a fence is more sensitive than one in the middle of the garden
- Privacy: can someone seated or standing on the patio look into neighbouring windows or seating areas?
- Drainage: will water run onto a neighbour’s land, towards the house, or into a public drain?
- Property type: flats, listed buildings and conservation areas can have tighter rules
If in doubt, ask the local planning authority before spending money. A five-minute check is dull. Retrospective planning arguments are dull and expensive.
Tools, Materials and Costs
Raised patios are material-hungry. You are not just buying slabs; you are building a compacted platform.
Typical Materials
- Paving slabs: porcelain, concrete, sandstone, limestone or granite
- Retaining edge: concrete blocks, brick, sleepers, walling blocks or stone
- MOT Type 1 sub-base: compacted structural layer
- Sharp sand and cement: for full mortar bedding
- Geotextile membrane: separates sub-base from soft soil where useful
- Drainage aggregate: clean stone behind retaining walls
- Perforated drainage pipe: useful behind higher retaining edges
- Pointing compound or mortar: fills joints between slabs
- Steps and coping stones: if the raised edge is visible
For paving choice, read our patio materials comparison before ordering. Porcelain looks crisp but needs the right slurry primer and cutting kit. Natural stone is more forgiving visually, but thickness and variation need planning.
Tools You Will Probably Need
- String line, pegs and tape: for setting out
- Spirit level and long straightedge: for checking fall
- Laser level: very helpful on raised work
- Spade, shovel and wheelbarrow: the glamorous bit
- Plate compactor: hire one, do not hand-tamp a patio base
- Rubber mallet: for bedding slabs
- Angle grinder or slab cutter: for cuts
- Pointing tools: depending on jointing method
- PPE: gloves, eye protection, dust mask and ear protection
Do not underestimate spoil removal. Digging out a patio creates a silly amount of soil and rubble. The skip often costs more than the tool hire.
Rough UK Cost Guide
For a small DIY raised patio, materials might start around £80-150 per m2 if you already own basic tools and keep the retaining edge simple. A professionally built raised patio can easily run £180-350+ per m2, depending on access, walling, steps, drainage and paving choice.
The expensive parts are usually not the slabs. They are excavation, waste removal, retaining walls, steps and getting materials through a side gate that was clearly designed by someone who hated wheelbarrows.
Step-by-Step: How to Build Raised Patio Areas
This is the safe sequence. Do not lay paving first and “sort the edge after”. The retaining edge and base are the job.
Step 1: Mark the Finished Patio Level
Decide the finished surface height first. Use a laser level or string lines from a fixed reference point, such as the damp-proof course, door threshold or an existing path.
Keep the patio surface below the house damp-proof course unless a competent professional has designed a proper threshold detail. As a broad rule of thumb, patios beside houses should fall away from the building, not trap water against it.
Mark:
- Finished paving height
- Fall direction
- Step positions
- Retaining edge line
- Drainage route
Once those are marked, stand in the garden and check how the new height feels. If it gives you a clear view over the fence, it may give your neighbour something to say.
Step 2: Work Out the Build-Up Depth
Your excavation depth depends on the paving and base build-up. A typical patio build-up might include:
- Paving slab: often 20-40mm depending on material
- Mortar bed: around 30-50mm
- Compacted Type 1 sub-base: often 100-150mm for patios, more where ground is poor
- Geotextile membrane: if needed over soft or clay soil
Raised patios also need compacted fill inside the retaining edge. Do not fill a raised platform with random garden soil and hope. Soil settles. Rubble with voids settles. Poorly compacted hardcore settles. Then slabs rock, joints crack and weeds get ideas.
PavingExpert has useful technical detail on why a sound sub-base matters: PavingExpert sub-base guide.
Step 3: Excavate and Prepare the Ground
Remove turf, topsoil, roots and soft material. You want a firm sub-grade, not a sponge. If the ground is clay, very wet or recently disturbed, consider professional advice before loading it with a raised patio.
Set the excavation so the retaining edge has a proper foundation. For low edges, that might be a compacted and concreted footing. For higher walls, the foundation design matters far more and should not be guessed from a forum comment.
Step 4: Build the Retaining Edge
The retaining edge holds the raised patio together. It might be brick, concrete block, walling block, sleeper or stone. Whatever you choose, it must resist sideways pressure from the compacted fill.
Build it before filling the middle. Check levels as you go and leave space for drainage behind higher edges.
Step 5: Add Drainage Behind the Retaining Edge
Raised patios fail when water gets trapped. Behind a retaining wall, use clean drainage aggregate and, where needed, perforated drainage pipe leading to a sensible outlet.
The RHS has practical garden drainage advice that is worth reading before you create a hard surface that changes where water goes: RHS garden drainage advice.
Water should not be sent towards the house, under the patio with nowhere to escape, or onto a neighbour’s land. If there is no obvious outlet, get advice before building.
Step 6: Fill and Compact in Layers
Add Type 1 sub-base in layers, compacting each layer with a plate compactor. Do not dump 300mm of material in one go and run the compactor over the top like a ceremonial gesture.
Compact in layers around 50-75mm deep. Keep checking the height so you leave enough room for the mortar bed and paving.
Step 7: Lay the Patio Surface
Lay slabs on a full mortar bed, not dot-and-dab blobs. Full beds support the slab properly and reduce rocking.
Set a fall, usually away from the house and towards a drainage route. A common patio fall is around 1:60 to 1:80, but the exact detail depends on the site and surface. The key point is that water must move.
PavingExpert’s flag and slab laying guide is useful for understanding falls, bedding and construction layers: PavingExpert laying slabs guide.
Step 8: Point, Cure and Protect
Point the joints using a suitable method for your paving. Porcelain often uses jointing compounds or slurry systems; natural stone might use brush-in compounds or mortar depending on joint width and finish.
Keep traffic off the patio while the bedding cures. Do not drag the dining set on the next morning because the sun came out and everyone is impatient.
Build the Retaining Edge First
The retaining edge is where raised patios become serious. It has to hold back compacted material and resist water pressure.
Common Retaining Options
- Concrete block wall: strong, practical and easy to face with cladding, brick or render
- Brick wall: attractive but needs proper footings and workmanship
- Sleeper wall: quick and warm-looking, but timber has a lifespan and needs drainage
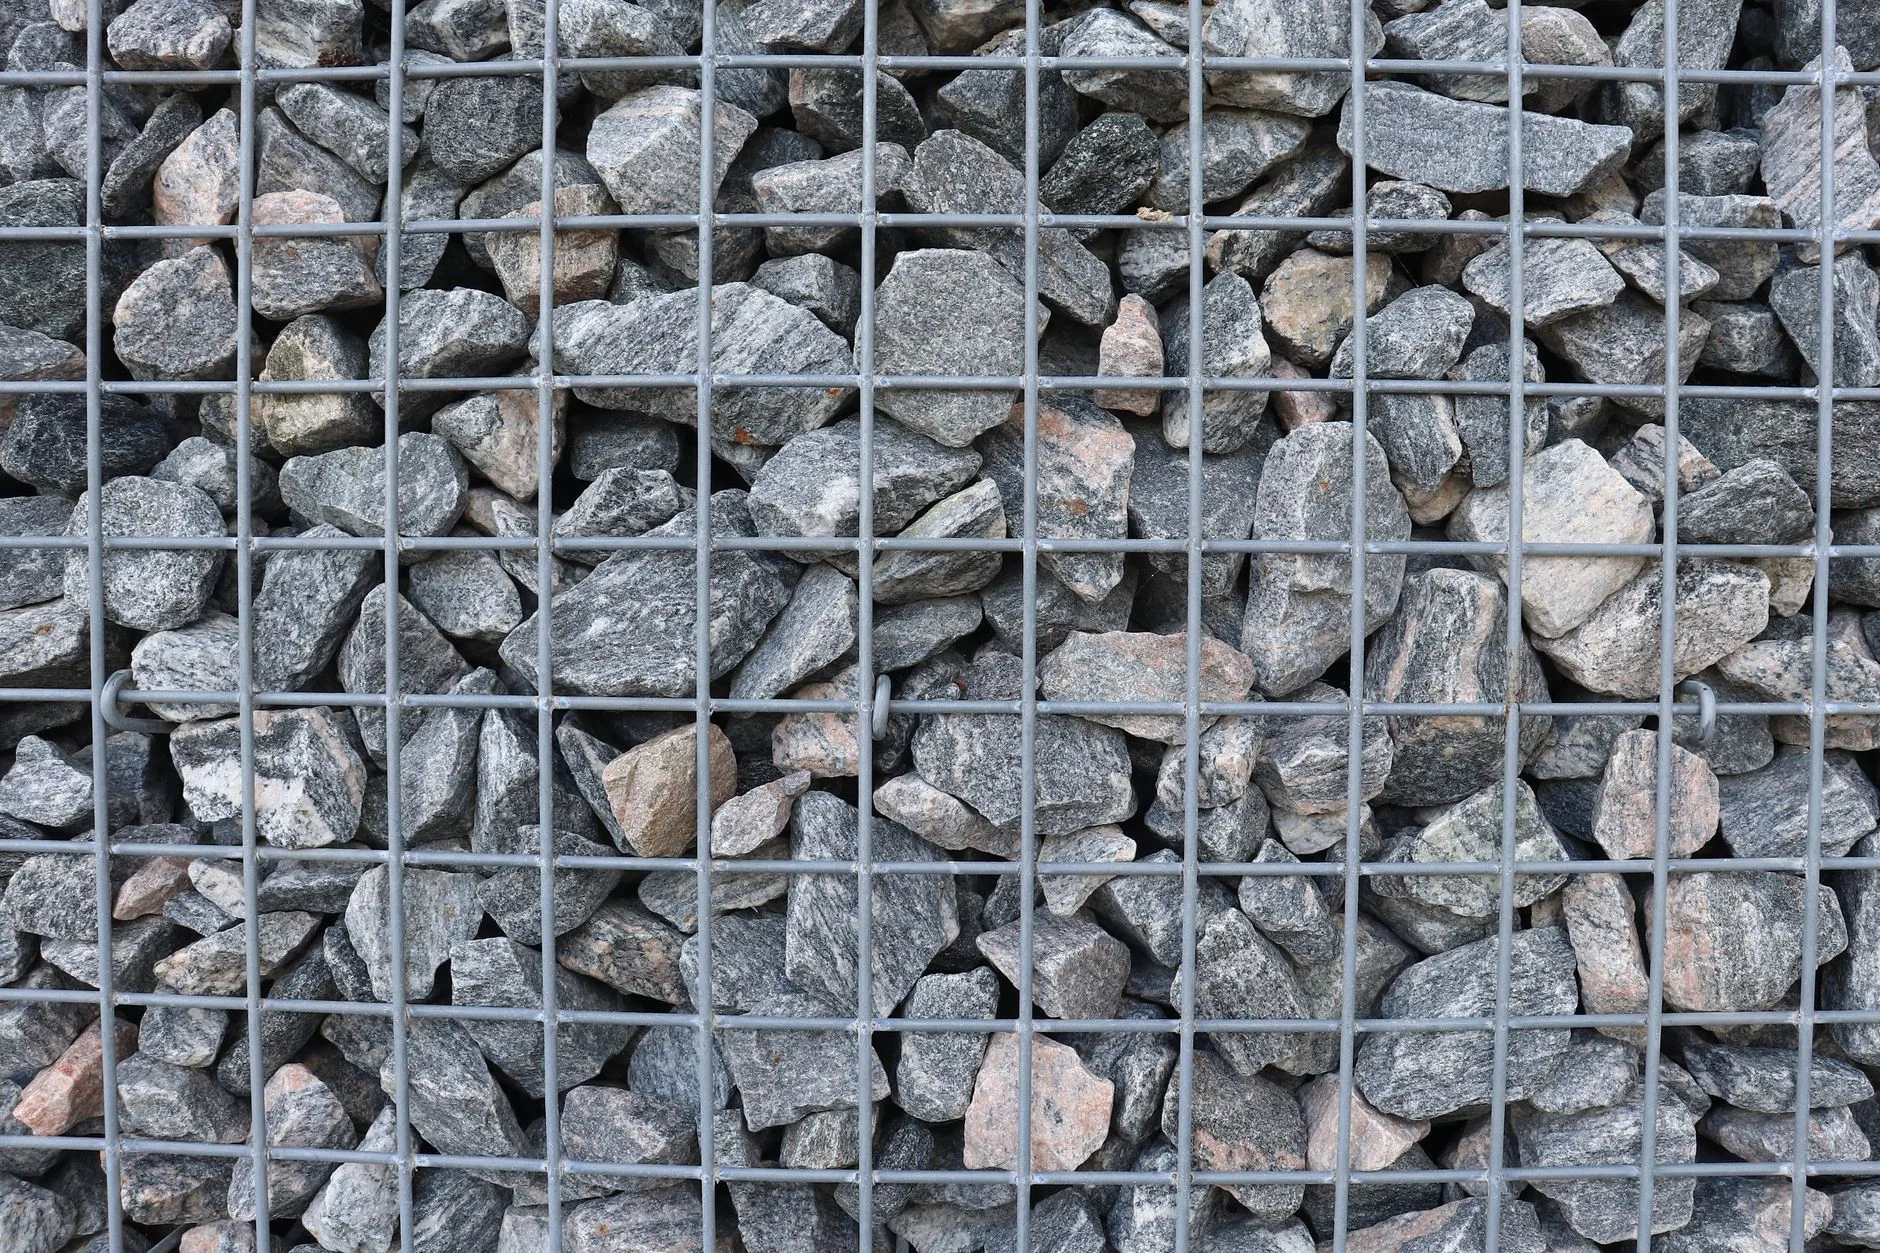
- Gabion basket: useful for drainage and texture, but chunky
- Natural stone wall: beautiful, expensive and skill-dependent
For low DIY patios, sleepers or walling blocks can work. For higher patios, blockwork or engineered walling is usually safer. If you are holding back enough material that failure would be dangerous or costly, get professional help.
Drainage Behind the Wall
Behind the retaining edge, include a free-draining zone. That usually means clean angular stone, not compacted clay. On larger jobs, a perforated pipe at the base can carry water away.
Weep holes may be needed in some wall types. The goal is simple: do not let water pressure build behind the wall. Wet soil is heavy, and it does not care that the patio looked great in August.
Fill, Compact and Drain the Base
The base is the difference between a patio that still looks right in five years and one that sags by Christmas.
Use the Right Fill
Use granular sub-base material that compacts well. MOT Type 1 is the normal UK choice for patio sub-bases. Avoid:
- Topsoil: it compresses and holds water
- Random rubble: voids settle over time
- Soft clay: poor drainage and movement
- Uncompacted builders’ waste: tempting, but asking for dips
If you reuse clean hardcore, break it down, remove timber/plastic/plaster, and cap it with a proper compacted Type 1 layer. Do not leave big voids.
Set the Fall in the Base
The fall should be built into the base, not rescued by a wonky mortar bed. Use string lines or a laser and keep checking.
If the raised patio sits near the house, think hard about drainage channels, soakaways, planting beds or falls away from the wall. Our patio drainage solutions guide covers the options in more detail.
Lay the Patio Surface
Once the retaining edge and compacted base are right, laying slabs is much closer to normal patio work.
Mortar Bed
Use a full mortar bed so each slab is supported across its whole underside. Dot-and-dab laying leaves voids where water can sit and slabs can crack or rock.
For porcelain, use a slurry primer on the back of each tile so it bonds properly to the mortar. Porcelain is dense and less forgiving than riven sandstone.
Joint Widths and Cuts
Plan cuts before you start. Try to avoid tiny slivers along the visible edge or against steps. Dry-lay a few rows if the pattern is awkward.
Useful laying habits:
- Work from a straight reference line: do not follow a wobbly fence
- Keep joints consistent: use spacers if needed
- Clean as you go: mortar stains are easier while fresh
- Check every few slabs: level, fall and alignment
- Protect finished work: especially if you still need to build steps
If weeds between slabs are one of your main worries, jointing and base prep matter more than weed membrane alone. Our guide to stopping weeds between patio slabs explains why.
Steps, Edges and Finishing Details
Raised patios need safe access. A single awkward step is annoying; several uneven steps are dangerous.
Step Dimensions
Keep step heights consistent. In garden landscaping, comfort matters as much as pure compliance. Very high risers feel tiring; very shallow steps can become trip hazards.
If the raised patio is high enough that someone could fall and be hurt, think about guarding, planting buffers, walls or a different layout. This is another point where professional advice is cheaper than fixing a bad design.
Edging and Coping
The top of the retaining edge needs finishing. Coping stones, bullnose slabs, brick-on-edge or matching pavers can all work. The edge should shed water, look deliberate and protect the wall below.
Do not leave blockwork exposed unless that is the intended finish. It will make the whole patio look unfinished, no matter how expensive the slabs were.
Planting Around a Raised Patio
Planting softens the height change. Low shrubs, grasses and trailing plants can make a raised edge feel intentional rather than like a small stage.
Avoid planting thirsty shrubs directly behind retaining walls unless drainage and root space are sorted. Raised and retained areas dry differently from ordinary beds.
Common Raised Patio Mistakes
Most raised patio failures are predictable. They come from treating it like a flat patio with extra rubble underneath.
Mistake 1: No Proper Retaining Structure
Stacking slabs, blocks or sleepers around the edge without a proper foundation and drainage is not retaining. It is temporary scenery.
Mistake 2: Poor Drainage
Water trapped behind a wall or under paving causes movement, staining and frost damage. Design the water route before the patio shape is final.
Mistake 3: Weak Compaction
Compaction is noisy, boring and essential. Hire the plate compactor. Use it in layers. Your future self, standing on non-wobbly slabs, will approve.
Mistake 4: Building Too High Without Checking Permission
Raised patios can affect privacy and permitted development rights. If the finished platform is high, close to a boundary or outside a flat, check first.
Mistake 5: Forgetting How People Will Use It
A patio is not just a rectangle of paving. It needs room for chairs to pull back, safe steps, lighting, drainage, planting and somewhere for the barbecue or planters to sit without blocking the route.
If the raised patio is for eating outside, plan furniture early. Our outdoor dining sets guide will help you work out how much space the table really needs.
Frequently Asked Questions
How high can a raised patio be without planning permission?
There is no single answer that covers every property, but raised platforms around 300mm and above are more likely to create planning and privacy issues. Check the Planning Portal and your local planning authority before building, especially near boundaries, flats, listed buildings or conservation areas.
Can I build a raised patio against my house?
You can, but drainage and finished levels are critical. Do not bridge the damp-proof course or send water towards the wall. Leave the correct height relationship to the house and use drainage channels where needed.
What should I fill a raised patio with?
Use compactable granular material such as MOT Type 1, placed and compacted in layers. Do not fill the void with topsoil, random rubble or loose garden waste. Poor fill settles and can push against retaining edges.
Does a raised patio need drainage?
Yes. A raised patio needs surface fall and, where retaining walls are used, drainage behind the retaining edge. Water pressure behind a wall can cause movement, cracking or failure.
Is a raised patio cheaper than decking?
Usually not. A raised patio is heavier and needs more excavation, retaining structure, compacted sub-base and labour. Decking is often cheaper for high or sloping areas, while paving is more durable and better for heavy furniture, fire pits and outdoor cooking.