You have been staring at that cracked, uneven patch of concrete behind the house for two years. Every summer you say “this is the year we do the patio.” Every autumn you cover it with the garden furniture and pretend it is fine. This year, you are actually going to do it. The good news: laying a patio is one of the most achievable major garden projects for a DIY beginner. The bad news: if you rush the groundwork, you will end up with wobbly slabs, puddles, and weeds growing through the joints within twelve months. Get the foundations right and a patio will last twenty years. Cut corners and you will be relaying it in three.
In This Article
- Planning Your Patio
- Choosing Patio Materials
- Tools and Materials You Will Need
- Preparing the Ground
- Laying the Sub-Base
- Mixing and Applying the Mortar Bed
- Laying the Slabs
- Cutting Slabs to Fit
- Jointing and Finishing
- Drainage: Getting the Fall Right
- Common DIY Patio Mistakes
- Frequently Asked Questions
Planning Your Patio
Before you buy a single slab, you need to plan properly. A patio that looks great on paper can be a disaster in practice if you have not thought through size, position, and drainage.
Size
The minimum practical patio size for a table and four chairs is about 3m x 3m. If you want space to walk around the furniture comfortably, 4m x 3m is better. For a larger entertaining area with a barbecue zone, you are looking at 5m x 4m or more. Measure your furniture and leave at least 60cm clearance on all sides.
Position
Consider where the sun falls at different times of day. A south-facing patio gets the most sun but can be too hot in midsummer. West-facing catches the evening sun, which is ideal for dining. Think about privacy too. If your patio is overlooked by neighbours, you might want screening or to position it further from the boundary.
Level and Drainage
Your patio needs a slight slope (called a fall) away from the house to prevent water pooling against the walls. The standard is a 1:60 fall, which means the patio drops 1cm for every 60cm of length. On a 3m deep patio, the far edge should be about 5cm lower than the edge against the house. This is critical in the UK where rain is frequent and heavy. Our patio materials guide covers how different surfaces handle water drainage.
Do You Need Planning Permission?
In most cases, no. Patios are permitted development as long as they do not raise the ground level by more than 30cm above the existing ground. However, if your garden is in a conservation area, or if the patio would cover more than 50% of your garden with impermeable surfacing (relevant for new builds under Sustainable Drainage requirements), you may need to check with your local council. The government permitted development guide has the full details.
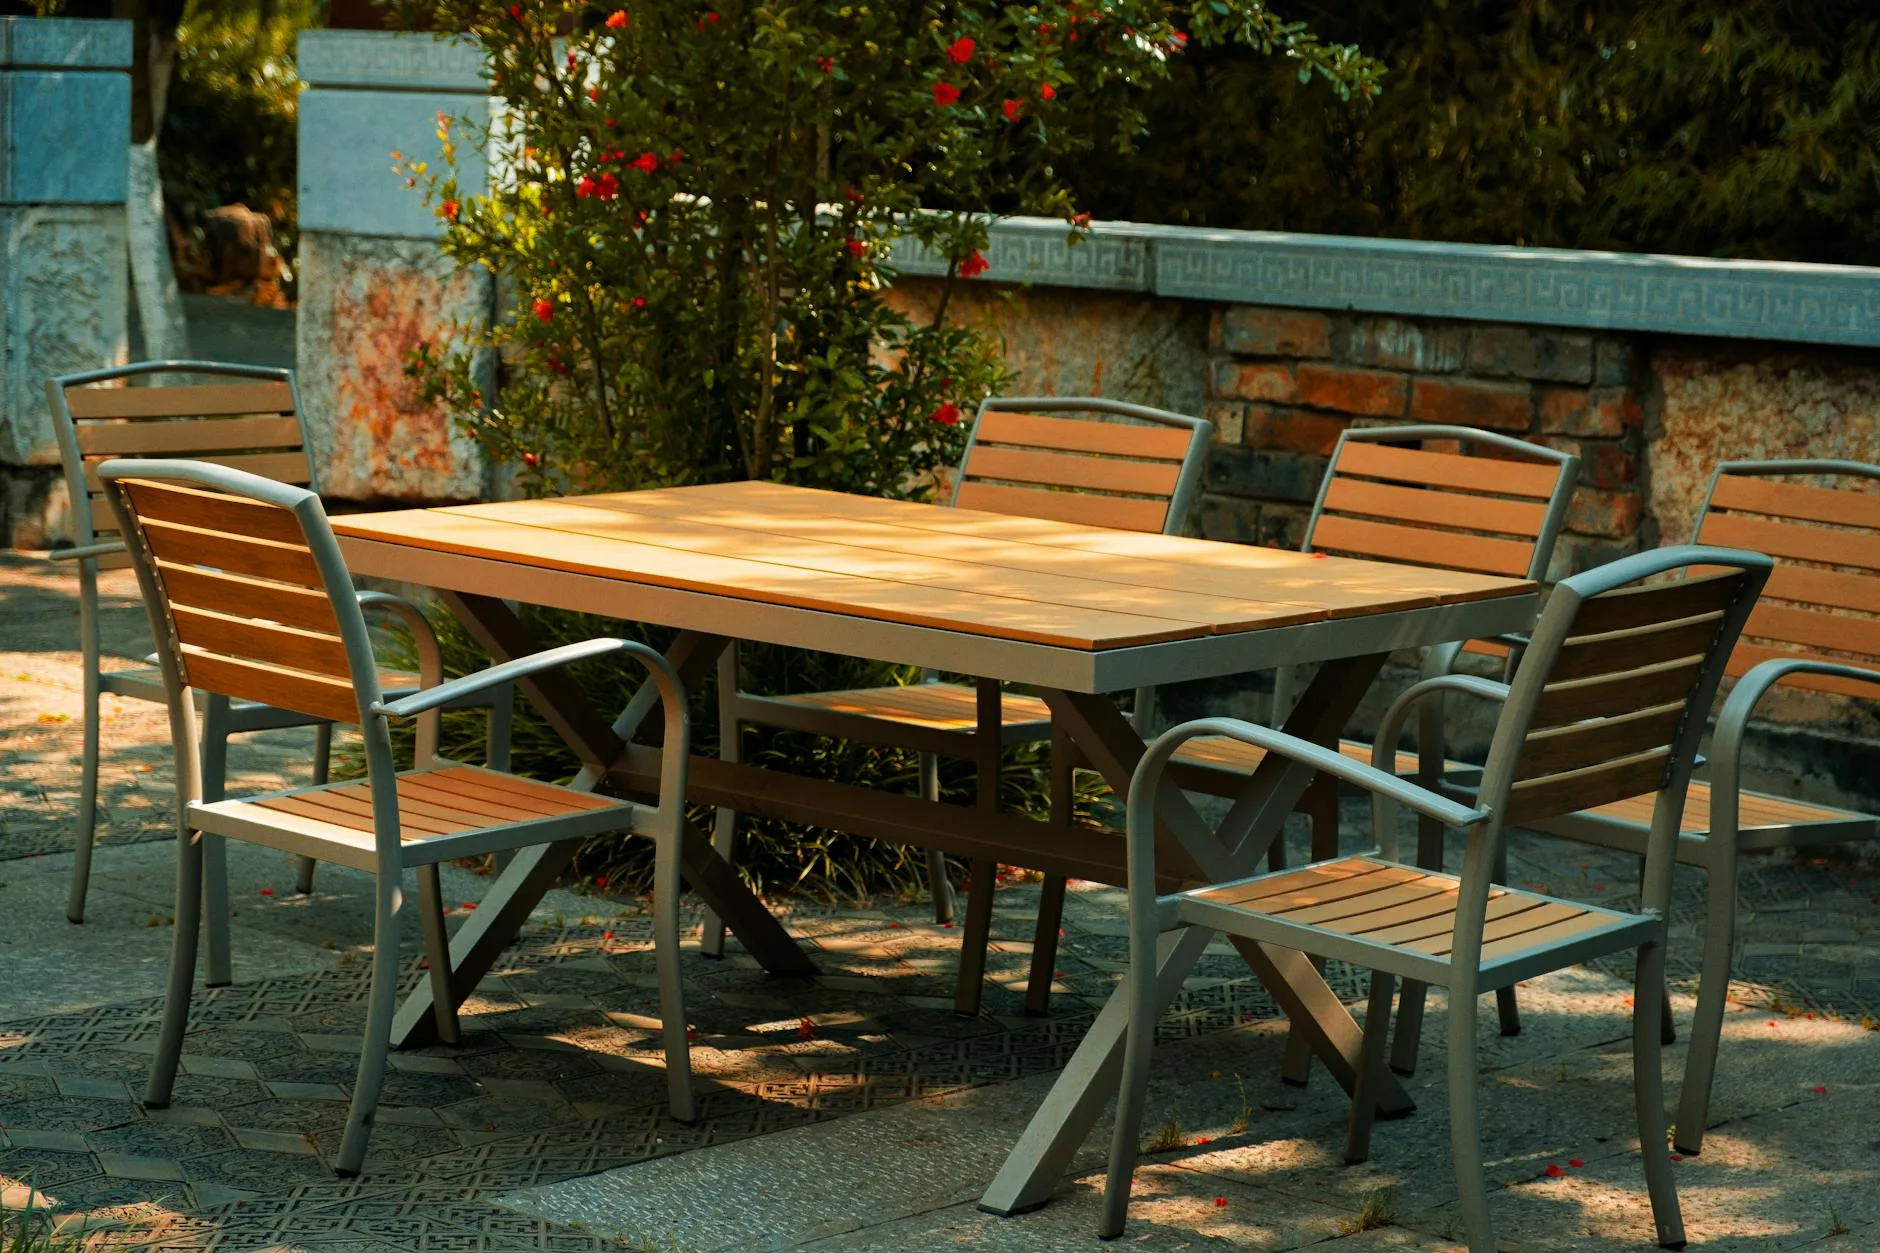
Choosing Patio Materials
Natural Stone
Sandstone, limestone, slate, and granite. Natural stone looks beautiful and ages well. Each slab is unique in colour and texture.
- Sandstone (about £20-40/m²) — the most popular choice for UK patios. Warm tones (buff, golden, grey). Available everywhere: B&Q, Wickes, local stone merchants. Indian sandstone is the affordable option; British sandstone is premium
- Limestone (about £30-50/m²) — cleaner, more uniform look than sandstone. Blue-grey or cream tones. Smoother surface
- Porcelain (about £30-60/m²) — technically man-made but mimics natural stone. Virtually zero maintenance, frost-proof, stain-resistant. Harder to cut and requires different adhesive. Increasingly popular in the UK
- Granite (about £40-70/m²) — extremely hard-wearing but expensive and heavy. Best for high-traffic areas
Concrete Slabs
Budget-friendly and widely available. Modern concrete slabs have improved dramatically and some are almost indistinguishable from natural stone.
- Budget concrete (about £10-20/m²) — the standard 450x450mm grey slab from any builders merchant. Functional, not pretty
- Premium concrete (about £20-35/m²) — textured, colour-varied slabs that mimic stone. Bradstone, Marshalls, and Stonemarket all make excellent ranges available at B&Q, Wickes, and independent merchants
Block Paving
Smaller units laid in patterns. More labour-intensive but creates flexible surfaces that can move slightly without cracking. Good for driveways and paths as well as patios.
Tools and Materials You Will Need
Tools
- Spade and shovel — for digging out the existing surface
- Wheelbarrow — you will use this constantly. Our wheelbarrow guide covers what to look for
- Spirit level (at least 1m long, ideally 1.8m) — essential for checking levels
- Rubber mallet — for tapping slabs into position without cracking them
- String line and pegs — for setting out the area and establishing levels
- Tape measure (5m minimum)
- Plate compactor/whacker plate — for compacting the sub-base. Hire from HSS or Jewson (about £30-40 per day)
- Angle grinder with diamond blade — for cutting slabs. Hire if you do not own one
- Mixing bucket or cement mixer — for mortar. A mixer is worth hiring for anything over 10m²
- Knee pads — you will be on your knees for hours. Do not skip these
Materials
For a 4m x 3m patio (12m²) you will need approximately:
- Sub-base material (MOT Type 1): 1.5 tonnes (about £45-60 delivered)
- Sharp sand: 0.5 tonnes (about £25-35)
- Cement: 5-6 bags of 25kg (about £30)
- Patio slabs: 12m² plus 10% for cuts and waste
- Jointing compound: 2-3 tubs depending on joint width
Total material cost for a 12m² patio: roughly £300-500 for concrete slabs, £400-700 for natural stone.
Preparing the Ground
This is the most important phase. A patio is only as good as what is underneath it.
Step 1: Mark Out the Area
- Use string lines and pegs to mark the exact patio boundary
- Set the string at the finished patio height against the house wall (at least 150mm below the damp proof course)
- Set the far string lower to establish your drainage fall (1:60 gradient)
- Double-check measurements and square the corners using the 3-4-5 triangle method
Step 2: Dig Out
- Remove all turf, topsoil, and vegetation within the marked area
- Dig to a depth of about 150-200mm below the finished patio level (this allows for sub-base, mortar, and slab thickness)
- The exact depth depends on your slab thickness. For a typical 25-30mm slab: 150mm sub-base + 30mm mortar + 25mm slab = 205mm total depth
- Compact the bottom of the excavation with a plate compactor or by treading it firmly
Step 3: Install Edge Restraints (Optional but Recommended)
For concrete slabs, a concrete haunching at the edges prevents the outer slabs from shifting over time. You can also use permanent edging kerbs. For a patio against a house wall, the wall acts as one edge restraint.
Laying the Sub-Base
The sub-base is the foundation of your patio. Skip it or do it badly and the slabs will sink, rock, and crack within a year.
What to Use
MOT Type 1 (crushed limestone aggregate) is the standard sub-base for UK patios. It compacts well and provides excellent drainage. Do not use builders sand, topsoil, or random rubble as a sub-base. They do not compact properly and will settle unevenly.
How to Lay It
- Spread MOT Type 1 across the excavated area to a depth of about 100-150mm (before compaction)
- Rake it roughly level
- Compact it with a plate compactor in multiple passes, working in different directions
- After compaction, the sub-base should be firm enough to walk on without leaving footprints
- Check levels against your string lines. The sub-base should follow the same fall as the finished patio
I cannot stress enough how important the compaction step is. The first patio I attempted, I skipped hiring a compactor and just trod the MOT down with my boots. Within six months, three slabs had sunk and the whole thing looked awful. Hired a compactor for the second attempt and it has been solid for four years.
Mixing and Applying the Mortar Bed
The Mix
A standard patio mortar mix is 5 parts sharp sand to 1 part cement. Mix it semi-dry — damp enough to hold its shape when squeezed but not wet or sloppy. If water runs out when you squeeze a handful, it is too wet.
Application
- Spread a bed of mortar about 30-40mm thick over an area large enough for one or two slabs at a time
- Do not try to mortar the entire patio at once — it will dry before you can lay all the slabs
- For large slabs, place five blobs of mortar (one in each corner, one in the centre) rather than a full bed. This allows you to adjust the level more easily
Laying the Slabs
Method
- Start at the corner nearest the house, where the patio meets the wall
- Place the first slab onto the mortar bed and tap it down gently with a rubber mallet
- Check it is level side-to-side and has the correct fall front-to-back using your spirit level
- Use spacers (10mm for natural stone, 3-5mm for concrete) to maintain consistent joint widths
- Lay the next slab, checking that it is level with the first
- Continue row by row, checking levels constantly
- Stand back every few rows and look at the overall alignment — it is easier to fix problems early than after the mortar has set
Tips from Experience
- Do not walk on freshly laid slabs. Use a plank across laid slabs to distribute your weight if you need to reach across
- Mix slab colours. If using natural stone, open several packs and take slabs randomly from different packs. This prevents colour patches where all the dark slabs end up in one corner
- Lay in dry conditions. Rain on fresh mortar weakens the bond. Check the forecast and cover with tarpaulin if rain is expected within 24 hours
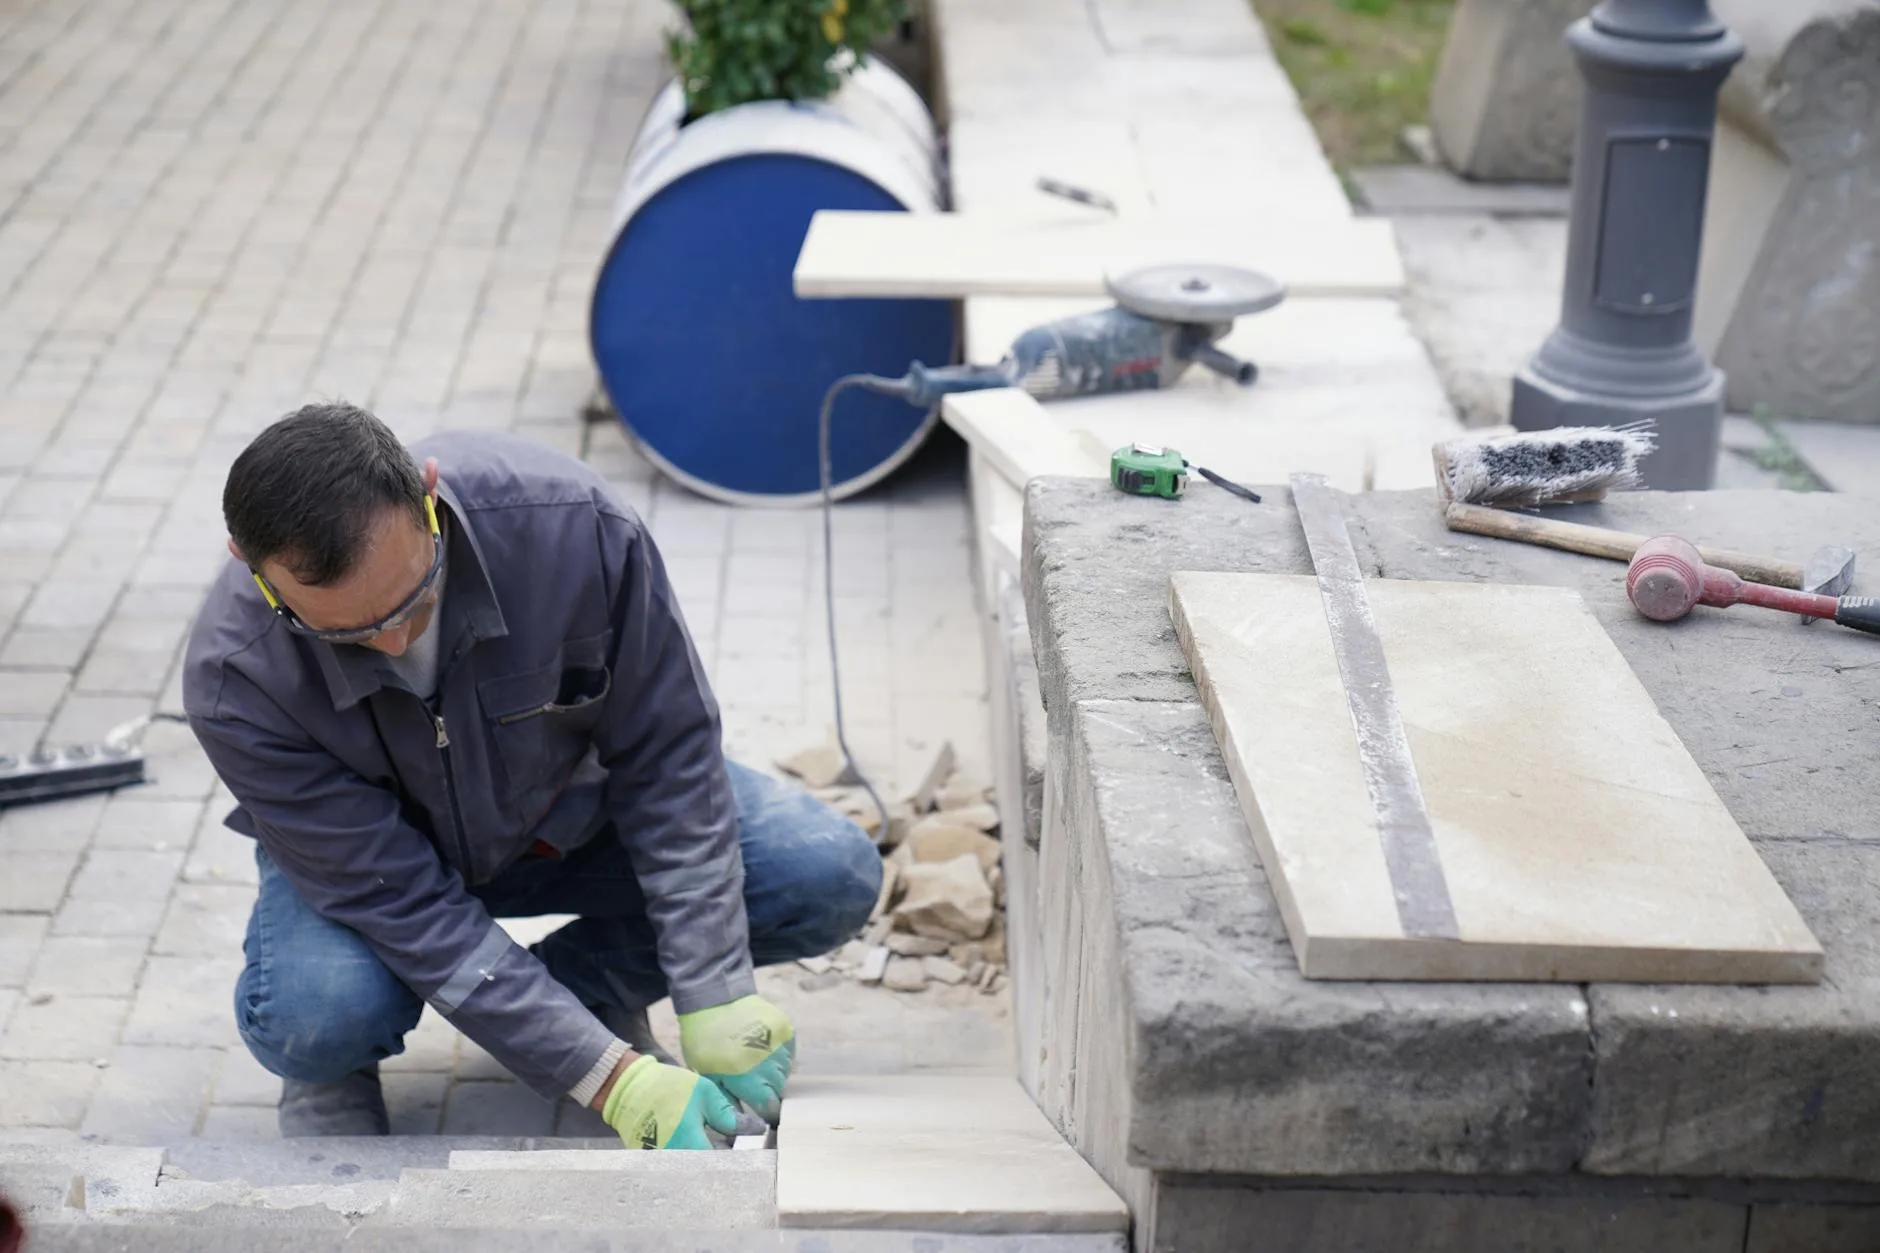
Cutting Slabs to Fit
You will probably need to cut slabs along at least two edges of the patio.
Using an Angle Grinder
- Mark the cut line on the slab with a pencil and straight edge
- Wear safety goggles, ear defenders, a dust mask, and gloves — this is non-negotiable
- Score the line with a shallow cut first (about 5mm deep)
- Make multiple passes, deepening the cut each time, rather than trying to cut through in one pass
- For thick natural stone, you may need to cut from both sides and tap the waste piece to snap along the line
Without Power Tools
For concrete slabs only: score a line with a bolster chisel and club hammer, then place the slab on a piece of timber along the score line and tap sharply. The slab will snap along the scored line. This method is imprecise and produces rough edges, so position cut edges against walls or borders where they will not be visible.
Jointing and Finishing
When to Joint
Wait at least 24 hours after laying before jointing. The mortar bed needs to set first. Ideally, wait 48 hours.
Jointing Options
- Dry brush method — sweep a mix of 4:1 sand and cement into the joints, then lightly mist with water. Cheap and effective for narrow joints
- Wet pointing — push a wet mortar mix (3:1 sand to cement) into the joints with a pointing trowel. Neater finish, better weed resistance, more labour-intensive
- Resin jointing compound — pre-mixed products like Azpects EasyJoint (about £20 per tub, covers 4-8m² depending on joint width). Just brush in and water. No mixing, no mess. Flexible, weed-resistant, frost-proof. The easiest option and worth the extra cost
Finishing Touches
- Clean any mortar splashes off slab surfaces immediately with a damp sponge — dried mortar is very hard to remove from natural stone
- Keep off the patio for at least 48 hours after jointing
- Once cured, apply a sealant if desired (recommended for sandstone to prevent staining, not necessary for porcelain or granite)
Drainage: Getting the Fall Right
Why It Matters
The UK averages 133 days of rain per year. A flat patio collects puddles. Puddles grow algae. Algae makes the surface slippery. Water pooling against house walls can penetrate below the damp proof course and cause internal damp. Proper drainage is not optional. Our guide to weed prevention also covers drainage as a factor in joint maintenance.
How to Achieve It
The 1:60 fall is standard: 1cm drop for every 60cm of patio depth. On a 3m patio, the far edge is 5cm lower than the house edge.
- Set your string lines at the correct heights before starting
- Check the fall with every slab you lay
- Water should run off the far edge onto a lawn, gravel border, or drainage channel
If Your Garden Slopes Toward the House
This is common and problematic. You may need a drainage channel (ACO drain) along the house wall to intercept water before it reaches the building. These are linear channels set flush with the patio surface that direct water to a drain or soakaway. A channel drain kit from Screwfix costs about £20-30 per metre.
Common DIY Patio Mistakes
Insufficient Sub-Base
The most common failure. Using too little MOT Type 1, not compacting it properly, or using the wrong material. The sub-base is invisible once finished, which is why people skimp on it. Do not.
Not Checking Levels Constantly
It is tempting to get into a rhythm and stop checking levels after the first few slabs. Errors compound. By the time you notice the patio is out of level, you have twenty slabs to lift and relay.
Mortar Too Wet
Wet mortar takes longer to set, shrinks more as it dries (causing slabs to drop), and is weaker once cured. Keep it semi-dry.
Joints Too Narrow
Tight joints on natural stone look clean initially but crack as the stone expands and contracts with temperature changes. Leave at least 10mm for natural stone. Concrete slabs can go narrower (3-5mm).
No Expansion Gap Against Walls
Leave a 10mm gap between the patio and any walls, filled with flexible sealant. The patio will expand in summer heat and contract in frost. Without a gap, expanding slabs push against the wall and can lift or crack.
Starting at the Wrong End
Always start laying from the most visible edge (usually nearest the house) and work outwards. Cut slabs should be at the far edge where they are less noticeable.
Keep reading on Plot & Patio: How to Stop Weeds Growing Between Patio Slabs, Patio Materials Compared: Concrete, Stone, Porcelain & Composite, Best Pressure Washers 2026 UK: Patio, Car & Decking, Pergolas vs Gazebos: Which Is Right for Your Garden?.
Frequently Asked Questions
How long does it take to lay a patio? A 12m² patio takes an experienced DIYer 2-3 days: half a day for preparation and digging, a full day for sub-base and mortar, and a full day for laying and jointing. First-timers should budget 3-4 days. Do not rush it.
Can I lay a patio on top of an existing one? You can if the existing patio is level, stable, and at least 150mm below the damp proof course after adding the new layer. You will need to use a tile adhesive rather than mortar. If the existing patio is uneven or sinking, remove it and start fresh.
What time of year is best for laying a patio? Late spring through early autumn (April to September). You need dry weather for the mortar to cure properly, and frozen ground in winter makes preparation impossible. Avoid laying during heatwaves too — mortar can dry too fast and crack.
Do I need to seal my patio slabs? Porcelain and granite: no. They are non-porous. Sandstone and limestone: recommended. A penetrating sealant prevents staining from spills, reduces algae growth, and makes cleaning easier. Apply once a year. Lithofin and Smartseal are widely used UK brands (about £30-40 per 5 litres from Amazon).
How much does it cost to get a professional to lay a patio? For a 12m² patio, expect to pay £1,500-3,000 for labour plus materials. Materials cost £300-700 depending on slab choice, so you are paying £1,200-2,300 for labour. DIY saves substantial money but requires time and physical effort.