Patio jointing compound is not a single product. For most domestic UK patios, a good one-part polymeric brush-in compound is the easiest sensible choice; traditional cement mortar is cheaper and suits a crisp hand-pointed finish, while a two-part resin or epoxy mortar earns its higher price on demanding paving, frequent cleaning and heavier traffic. The right answer depends on the paving, joint width, joint depth and what sits beneath the slabs—not the most confident claim on the tub.
In This Article
- Patio Jointing Compounds Compared in 60 Seconds
- What a Patio Joint Actually Has to Do
- Cement Mortar Jointing
- One-Part Polymeric Jointing Compound
- Two-Part Resin and Epoxy Jointing Mortar
- Which Jointing Compound Suits Your Paving?
- How Much Patio Jointing Compound Do You Need?
- How to Repoint an Existing Patio
- The Best Patio Jointing Option for Most UK Gardens
- Frequently Asked Questions
Patio Jointing Compounds Compared in 60 Seconds
The confusing bit is the terminology. Retailers often use “resin jointing compound” for easy brush-in tubs, while paving specialists separate one-part polymeric mortars from stronger two-part resin or epoxy systems. In this guide, polymeric means the ready-mixed, one-part brush-in type; resin means a two-part product mixed on site.
| Jointing type | Best for | Main advantage | Main drawback |
|---|---|---|---|
| Cement mortar | Stable rigid patios and traditional pointing | Low material cost and a dense finish | Slow, skill-dependent and prone to cracking if the base moves |
| One-part polymeric | Most domestic patios and paths | Fast brush-in application, often in damp weather | Needs correct depth and drainage; quality varies |
| Two-part resin or epoxy | Premium patios, driveways and hard-cleaned areas | Higher strength and better resistance to pressure washing | Expensive, timed mixing and less forgiving application |
My default choice for a sound back-garden patio is a reputable one-part polymeric compound. It saves hours of kneeling and pointing, handles our unreliable weather better than site-mixed mortar and is easy for a careful DIYer. I would step up to a two-part product for a driveway, a heavily used entertaining area or paving that will be pressure-washed regularly.
Do not choose by binder alone. A £40 tub installed 8 mm deep over loose dirt will fail sooner than a cheaper material installed to the correct full depth on a stable patio.
What a Patio Joint Actually Has to Do
A joint keeps the paving edges supported, limits dirt and seed collection, gives the surface a finished appearance and copes with small changes in temperature and moisture. It cannot rescue loose slabs or a sinking sub-base.
Rigid and flexible construction
Most slab patios are rigid construction: slabs sit on a full mortar bed over a compacted sub-base. Their joints should be filled with a material compatible with that stable build-up. If slabs rock, the joint is repeatedly bent and crushed. Cement cracks; weaker brush-in material can break away; even expensive resin may detach.
Block paving is different. It is normally flexible construction with kiln-dried sand in narrow joints, so a patio compound is not automatically a suitable substitute. Our patio materials comparison explains how porcelain, concrete and natural stone differ before you reach the jointing stage.
Four checks before buying
- Joint width: check the narrowest point, not the generous gap at one corner.
- Joint depth: measure after loose material has been removed. A thin decorative cap is a common reason for failure.
- Drainage: permeable brush-in products need water to escape through a suitable build-up rather than sit trapped beneath them.
- Movement: fix rocking slabs and failed bedding before repointing.
Current manufacturer limits differ. For example, Azpects specifies at least 3 mm width and 20 mm depth for EASYJoint, while Sika specifies 5 mm width and 20 mm depth for FastFix All Weather. The label for the exact product wins over a generic internet rule.
Drainage deserves its own check in wet gardens. If water already pools, deal with the cause using our UK patio drainage guide before sealing neat-looking joints around the problem.
Cement Mortar Jointing
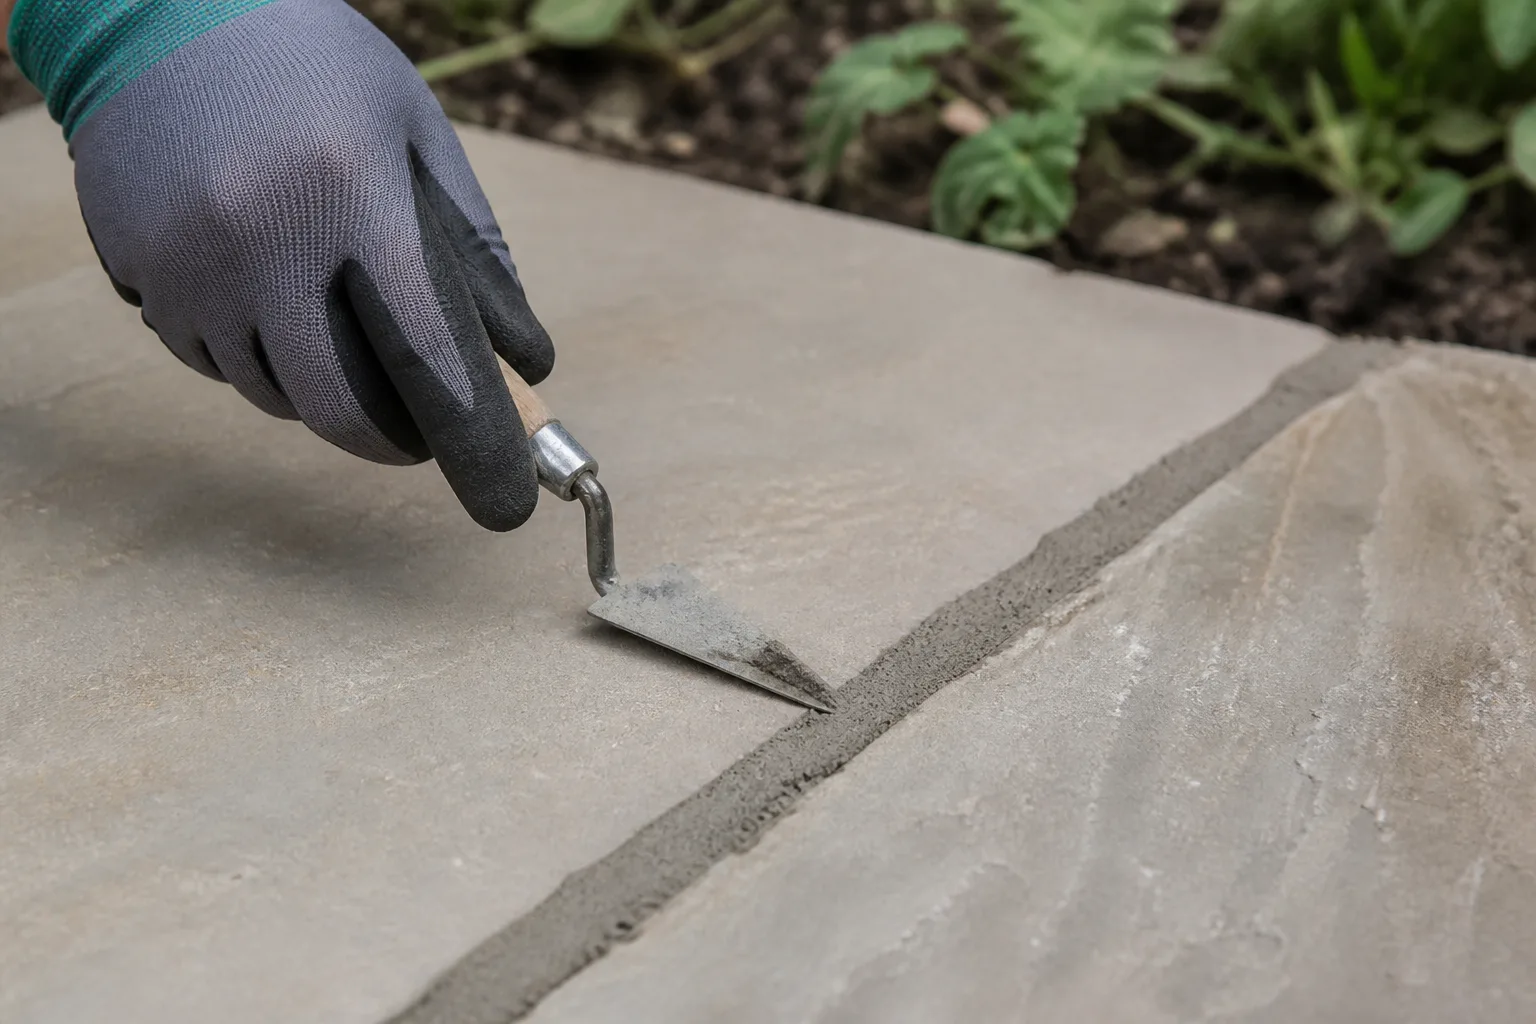
Cement mortar is the traditional option: a fine sand-and-cement mix pressed firmly into clean joints and finished with a pointing iron. It suits a rigid patio with stable slabs, adequate joint depth and someone willing to work carefully at ground level.
Where cement makes sense
Mortar is attractive when material cost matters more than labour. Sand and cement for a modest patio can cost roughly £15–£30, far below several tubs of proprietary compound. It can also produce a neat, dense joint with a traditional colour and profile, particularly around sandstone or concrete flags.
Its strengths are easy to see:
- Low raw-material cost: useful on large areas when you are supplying the labour.
- Controllable colour and texture: different building sands and pigments change the finish.
- Dense joint: properly compacted mortar copes well with normal patio cleaning.
- Easy local repair: a failed section can be cut out and repointed without buying a full resin kit.
Why cement joints fail
Cement mortar is rigid. When a slab rocks, the joint usually cracks along an edge. A dry, dusty joint prevents bonding; a weak or over-wet mix can crumble; shallow “smearing” over old pointing creates a cosmetic skin that lifts after frost.
Mortar residue can stain textured stone and porcelain. Work in small areas, keep the slab faces clean and do not wash cement slurry across porous sandstone. If the patio is still being built, follow the base and bedding sequence in our step-by-step patio laying guide rather than treating pointing as an isolated finishing job.
I would choose cement where the patio is structurally sound, the joints are comfortably wide and deep, and a traditional hand-pointed finish matters. I would not choose it merely because the bag is cheap; the real cost is the time spent mixing, packing and cleaning every joint.
One-Part Polymeric Jointing Compound
One-part polymeric compounds are the familiar ready-to-use tubs sold at Screwfix, Wickes, builders’ merchants and paving suppliers. The aggregate is pre-coated with a binder and is brushed or washed into prepared joints. Air and moisture conditions then allow it to cure.
Why it is the DIY favourite
There is no ratio to measure and no short two-part mixing cycle. You can work standing up with a broom for much of the job, although the joint still needs to be filled and compacted exactly as the instructions state.
Sika FastFix All Weather was about £33.49 for 14 kg at Screwfix when checked in August 2026. Azpects EASYJoint 12.5 kg was roughly £35–£43 across Bradfords and Wickes. Those prices move, but they show the normal bracket: approximately £30–£50 per tub for a mainstream one-part product.
For the manufacturer specifications and coverage figures in this comparison, I checked current UK product instructions rather than treating every brush-in tub as interchangeable. Sika’s FastFix All Weather page specifies joints over 5 mm wide and 20 mm deep, a permeable build-up and approximate coverage of 17–21 m² for 450 × 450 mm slabs with 5 × 20 mm joints, depending on colour and pack.
The catches hidden by “just brush it in”
Polymeric does not mean foolproof. The joints must be deep enough, free of weeds and loose debris, and compatible with the product. The surface usually needs thorough pre-wetting to reduce staining and help move the compound; standing water then needs to drain.
Take particular care with:
- Porous or pale paving: test an off-cut because a temporary resin film can darken the surface.
- Very narrow joints: the material may bridge at the top rather than filling the depth.
- Impermeable bedding: trapped wash water can delay or impair air-cured products.
- Pressure washing: keep the nozzle back and use a fan setting only after full cure.
A good polymeric compound is my value pick for normal foot-traffic patios. It is not my pick for slabs that move, vehicle loads or someone who attacks every joint with a concentrated pressure-washer jet.
Two-Part Resin and Epoxy Jointing Mortar
Two-part systems contain aggregate plus separate resin and hardener components. You mix the complete pack for the specified time, then slurry or squeegee it into wet joints before its working time expires. The chemical cure creates a stronger joint than most one-part brush-in compounds.
When the upgrade earns its price
Choose a suitable two-part resin when the area has heavier demands: a driveway approved by that manufacturer, a busy entrance, premium setts, frequent mechanical cleaning or an expensive patio where labour savings and durability justify the material.
Two-part tubs commonly start around £70–£100, with specialist systems costing more. A current 2026 merchant catalogue listed Azpects EASYJoint PRO 17 kg at about £81 plus VAT, which puts it in a different budget from standard EASYJoint.
The benefits are real:
- Higher strength: useful where a one-part pedestrian-grade compound is marginal.
- Better cleaning resistance: stronger resin slurry products generally tolerate careful pressure washing better.
- Fast installation over large areas: an experienced installer can slurry material into many joints quickly.
- Consistent factory formulation: no improvised sand-to-cement ratio.
Why it is not the automatic premium answer
Once mixed, the clock is running. Poor preparation, late cleaning or an incomplete mix can waste an entire expensive pack. Resin residue on porous stone may be difficult to remove. Some systems require minimum joint dimensions, particular bedding and dry or wet conditions that differ from the product beside them.
For a 10 m² domestic patio used for chairs and a barbecue, two-part epoxy is often unnecessary. Spend the difference fixing loose slabs and preparing the joints properly. On a driveway, verify the exact product is approved for vehicular traffic; “resin” on the label is not proof.
Which Jointing Compound Suits Your Paving?
Paving material narrows the choice, but the construction underneath remains decisive. A product marketed for sandstone can still fail on sandstone laid over unstable spot bedding.
Porcelain
Porcelain usually has narrow, regular joints and a non-porous face. Use a compound or external grout specifically approved for porcelain and your joint width. Some ordinary brush-in products need wider or deeper joints than a porcelain layout provides. Clean residue promptly because it is very visible on a crisp surface.
Sandstone and limestone
Natural stone often has wider, variable joints that suit mortar or brush-in compound. Its porosity raises the risk of resin film or cement staining, so pre-wet where instructed and test an off-cut. A sympathetic buff or stone colour usually looks less harsh than very dark pointing.
Concrete flags
Stable concrete slabs work with all three families when dimensions match. Cement is the budget route; polymeric is the time-saving route. On older concrete, clean algae and dirt from the joint edges so new material is not bonding to grime. Our patio cleaning guide covers surface cleaning without treating a failed joint as dirt.
Raised patios and movement-prone areas
On a raised patio, settlement or movement is a structural warning, not an invitation to buy flexible-looking joint filler. Check the retaining edge, compacted fill, drainage and slab bedding first. Repoint only once the paving is stable.
The same applies where weeds keep returning. Deep organic material and failed joints need removal; simply brushing compound over growth creates a thin cap. Our guide to stopping weeds between patio slabs explains why joint preparation matters more than a weed-control claim on the packaging.
How Much Patio Jointing Compound Do You Need?
Coverage depends on four measurements: slab length, slab width, joint width and joint depth. Small-format setts create far more joint length per square metre than 600 × 600 mm flags, so one tub may cover a large slab patio but only a small sett area.
A sensible estimating method
- Measure representative slab sizes in millimetres.
- Measure the average joint width and the full cleared depth.
- Use the manufacturer’s calculator or coverage table for that exact product.
- Add roughly 10% for variation, spillage and deeper local joints.
- Round up to complete packs; do not reduce joint depth to make the estimate fit your budget.
For 450 × 450 mm paving with 5 mm wide, 20 mm deep joints, Sika quotes around 17–21 m² per FastFix pack depending on the version. Double the joint width or use much smaller paving and coverage drops sharply.
On a 20 m² patio, polymeric material might cost about £40–£120 depending on the paving format and joint size. Two-part resin could be several times that. Cement remains cheaper, but contractor labour can reverse the comparison because hand pointing is slow.
Include jointing in the complete project budget rather than treating it as an afterthought. Our UK patio cost guide covers paving, excavation, sub-base, bedding and labour as well as finishing materials.
How to Repoint an Existing Patio
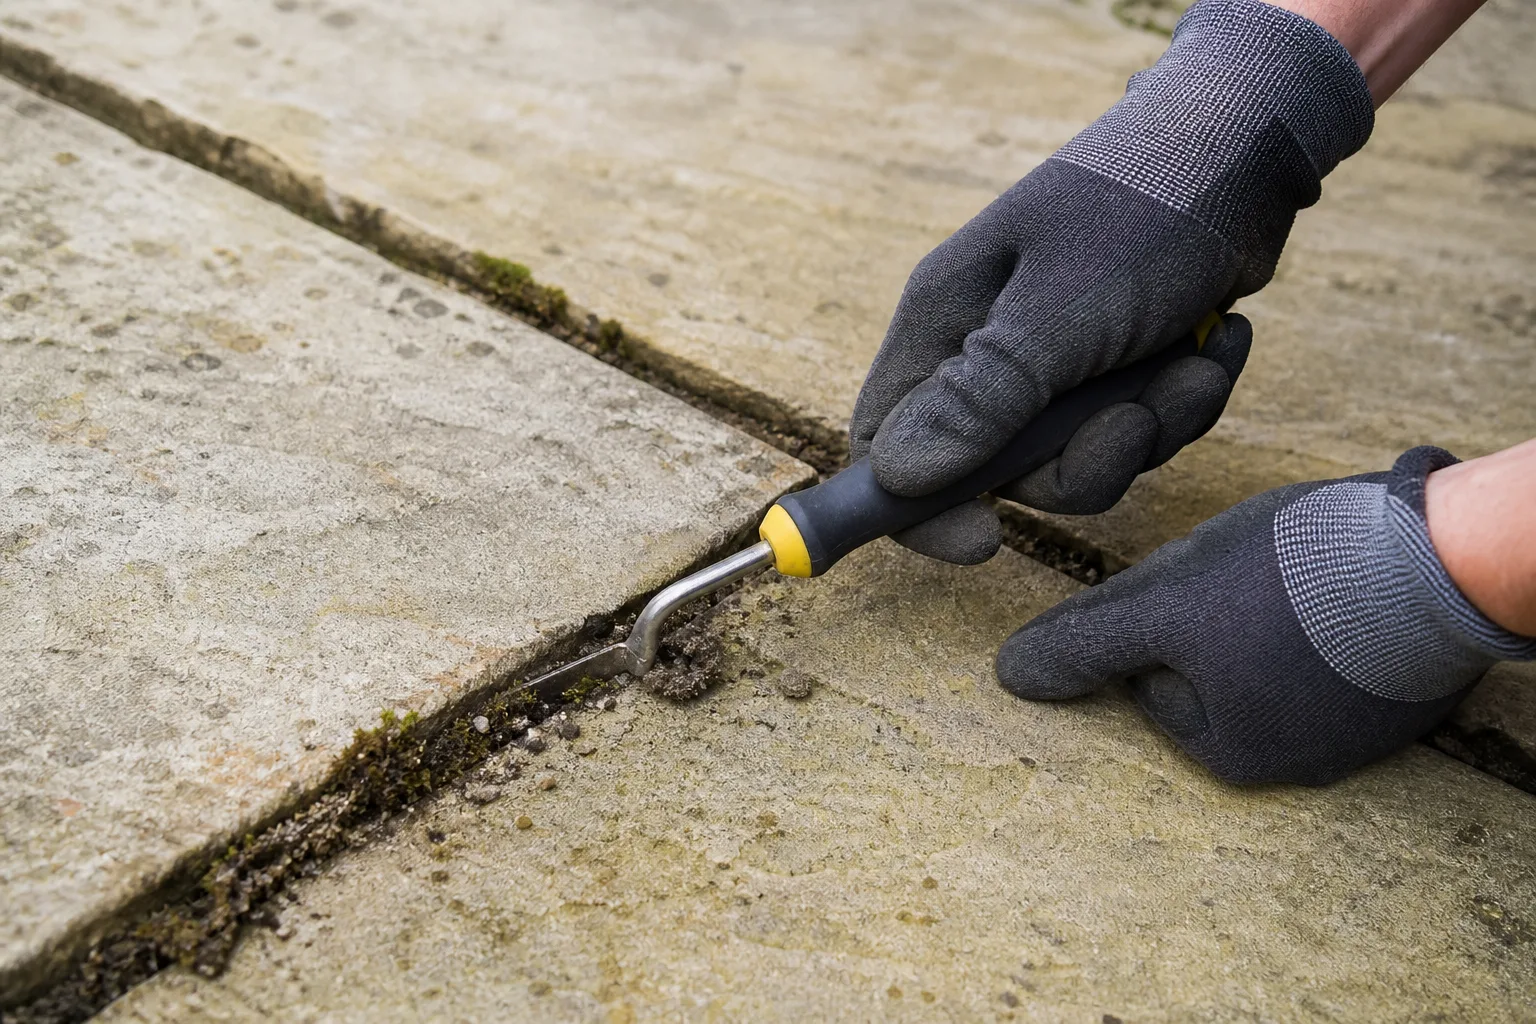
Repointing succeeds or fails during removal and preparation. New compound needs sound joint walls and its specified depth; it should not sit as a veneer over loose mortar.
The preparation and application sequence
- Check every slab. Lift and re-bed anything that rocks before touching the joints.
- Remove failed material. Rake or cut it out to the product’s full required depth without chipping slab edges.
- Clear contamination. Remove weeds, roots, soil, loose grit and dust. Clean the paving face as needed.
- Check dimensions and drainage. Confirm the narrowest joints qualify and wash water has somewhere to go.
- Test the finish. Use an off-cut or inconspicuous corner, particularly on pale or porous stone.
- Follow the exact water and mixing instructions. Do not combine guidance from two different tubs.
- Fill the entire joint. Compact and top up where the manufacturer requires it.
- Clean the slab faces. Remove every loose grain and resin or mortar trace before it cures.
- Protect the area. Keep people, furniture, pets and aggressive cleaning off until full cure.
Wear eye protection and a suitable mask when cutting out old cementitious material; use dust suppression or extraction where the tool permits. Check cables and edging before using powered cutters. If large areas are hollow, sinking or cracked, repointing is only cosmetic—budget for lifting and relaying instead.
The Best Patio Jointing Option for Most UK Gardens
For a stable domestic patio with joints that meet the specification, I would buy a reputable one-part polymeric compound such as Sika FastFix All Weather or Azpects EASYJoint. Both are widely available from UK merchants, cost roughly £30–£50 a tub and replace a slow pointing job with a manageable brush-in process.
That recommendation has boundaries:
- Choose cement mortar for the lowest material cost, a traditional hand-finished appearance or small local repairs where you have the skill and time.
- Choose one-part polymeric for most patios and paths with sound bedding, suitable joint dimensions and drainage.
- Choose two-part resin or epoxy for higher loads, regular careful pressure washing or premium work where the exact product is approved for the application.
The biggest mistake is buying the strongest-sounding product before measuring the joints and checking the slabs. Fix movement first, prepare the full depth, then match the compound to the paving construction. That order matters more than brand loyalty.
Frequently Asked Questions
Is polymeric jointing compound the same as resin? Retail language overlaps. Most ready-mixed brush-in compounds use a polymeric or resin binder and are one-part products. In this comparison, “two-part resin” means a separate resin and hardener mixed on site for higher performance.
Can I put new jointing compound over old mortar? Not as a thin cap. Remove loose or failed material to the new product’s specified depth and expose sound joint sides. Repair rocking slabs first.
Can patio jointing compound stop weeds? A sound, full-depth joint reduces places where windblown seeds can establish, but it cannot stop growth through cracked joints or organic dirt sitting on the surface.
Can I use brush-in compound in the rain? Some all-weather products are designed for wet application, but heavy rain can prolong curing or disturb uncured material. Follow the exact manufacturer instructions and ensure standing water can drain.
How long before I can use the patio? It varies with chemistry, temperature and moisture. Initial set may take hours, while full cure can take several days. Use the pack instructions rather than a universal 24-hour rule.
Can I pressure-wash resin or polymeric joints? Usually only after full cure and with the nozzle held back on a fan setting. Two-part resin mortars generally withstand careful pressure washing better than lower-strength one-part products.