Charging garden tool batteries safely is mostly about boring choices: where you plug in, what surface the charger sits on, and whether you walk away while a warm lithium-ion pack is still charging. A cordless mower or hedge trimmer battery is useful kit, but it should not be treated like a torch battery thrown on a shelf under a leaking shed roof.
In This Article
- Charging Garden Tool Batteries Safely Starts With Where You Plug In
- The Safe Charging Setup I Would Use in a UK Shed or Garage
- What to Check Before You Put a Battery on Charge
- Chargers, Batteries and Extension Leads: What Is Worth Buying
- Temperature, Damp and Overnight Charging
- Storage Between Jobs and Over Winter
- Warning Signs That Mean Stop Using the Battery
- Frequently Asked Questions
Charging Garden Tool Batteries Safely Starts With Where You Plug In
The safest charging place is not necessarily the place where the tools live. Many UK sheds are damp, dusty, unheated and powered by a long extension lead that was meant for one afternoon, not three years. That is a poor place to leave a lithium-ion garden-tool battery charging while you are inside making dinner.
The basic rule
Charge on a hard, clear, dry surface where you can see the charger and unplug it easily. A garage bench can work if the electrics are sound and the area is not piled with cardboard, compost bags, old paint tins and dry grass clippings. A shed can work only if it is dry, has a proper socket, and does not swing between freezing and baking hot.
The London Fire Brigade’s battery and charger safety advice is aimed at household devices as well as larger lithium-ion batteries, but the principle carries over neatly: use the correct charger, avoid damaged batteries, and keep batteries away from extreme temperatures. Garden batteries are often bigger than phone batteries, so I would give them more respect, not less.
Why garden batteries deserve care
A 2Ah or 4Ah cordless-tool battery looks harmless because it clips neatly into a charger and has no fuel smell. Inside, though, it is a dense energy pack. If it is damaged, charged with the wrong charger, overheated, soaked or left in a bad environment, the risk changes quickly.
That does not mean cordless garden tools are unsafe. I prefer cordless for many home garden jobs because there is no cable to cut and no petrol to store. Our guide to whether cordless garden tools are powerful enough covers the performance side. The charging routine is narrower: correct charger, clear surface, sensible temperature and no damaged packs being given one more chance.
The three places I would avoid
Do not charge garden-tool batteries:
- On a shed floor: damp, dust and knocks are all more likely at floor level.
- On top of cardboard or fabric: chargers get warm, and the surrounding material should not help a small fault become a bigger one.
- Beside petrol, paint or fertiliser: your charging bench should not double as the chemical shelf.
If the only available socket is surrounded by clutter, sort the socket area before charging. It is ten minutes of boring housekeeping, which is still better than trying to remember which breaker feeds the garage while something smells hot.
The Safe Charging Setup I Would Use in a UK Shed or Garage
For most homes, the best setup is a dedicated charging shelf or bench near a proper wall socket, with nothing flammable touching the charger. It does not need to be expensive. It does need to be deliberate.
A practical charging station
This is the setup I would use:
- Hard surface: a metal shelf, clear timber bench with a heat-resistant mat, or a ceramic tile under the charger.
- Clear air: leave space around the charger so heat can disperse.
- Correct charger: use the charger supplied by the brand or a genuine replacement from the same system.
- Visible socket: plug directly into a wall socket where possible, not a hidden nest of adaptors.
- Smoke or heat alarm: fit one close enough to warn you, but follow the alarm maker’s guidance for garages and dusty areas.
A basic ceramic tile costs about £2-£6 from B&Q or Wickes and makes a useful non-combustible pad under a charger. A small metal shelf is often £20-£45. If you already have a sturdy bench, clear one end of it and make that the charging area. The key is consistency: the battery goes there every time, not wherever there is a spare plug.
Socket quality matters
If your garage has modern sockets installed properly, fine. If your shed power is a trailing extension lead from the kitchen window, that is a temporary solution, not a charging system. Outdoor electrics should be weatherproof and RCD-protected; if you are not sure, use a qualified electrician rather than guessing.
For occasional charging in a garage socket, I would still use an RCD-protected circuit or plug-in RCD adaptor if protection is not already built in. Plug-in RCD adaptors are usually about £10-£18 from Screwfix, Toolstation, B&Q or Wickes. They are not a licence to use damaged kit, but they are sensible protection around garden equipment and damp-prone spaces.
For wider tool-use hazards, our garden power tool safety guide covers cables, PPE, working area and blade risks. Battery charging is narrower: socket, charger, surface, temperature, supervision.
Keep the charger off the tool pile
The charger should not sit on top of the mower box, beside oily rags, under a bag of bark chippings, or on a bench where secateurs and screws get thrown. I have seen chargers half-buried under gardening gloves and old seed trays; that is exactly how ventilation slots get blocked and cables get nicked.
Use a cheap open crate or wall basket for charged batteries, but do not pack them tightly around the charger while charging. A battery that has just finished charging should be warm, not hot. Give it space before clipping it straight into the mower.
What to Check Before You Put a Battery on Charge
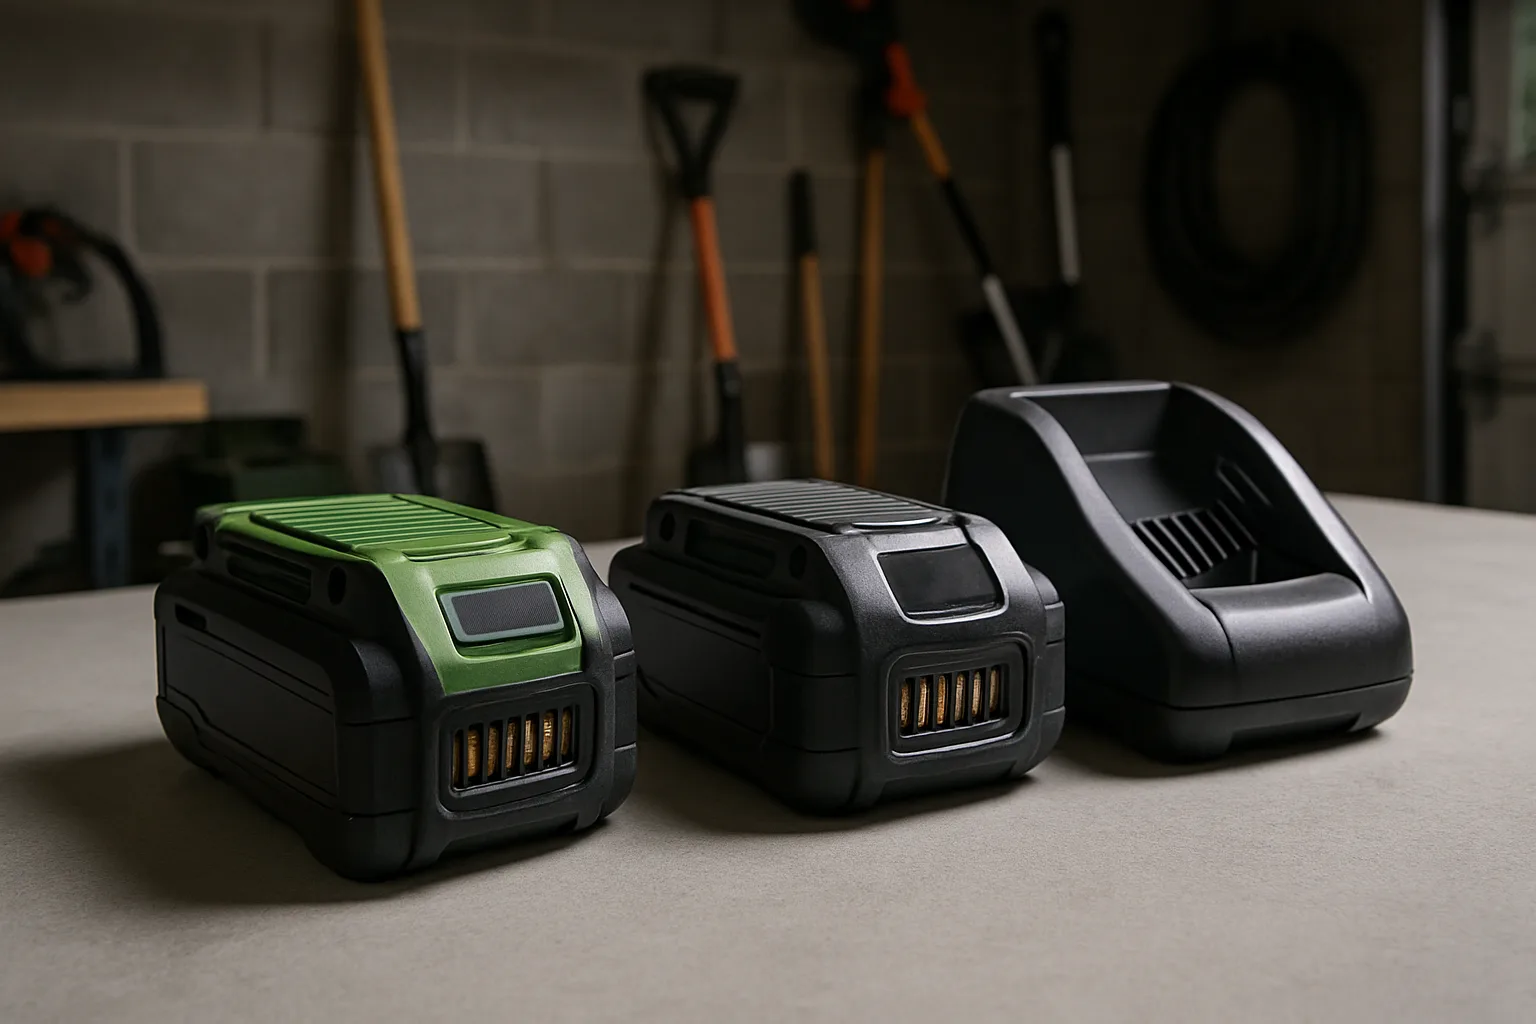
The best safety check happens before the battery touches the charger. Once a battery is charging, you are relying on the charger, the battery management system and the condition of the cells. Spend 30 seconds looking at the pack first.
The pre-charge inspection
Check for:
- Cracks or crushed casing: especially after dropping a battery on a patio or garage floor.
- Swelling or distortion: a battery pack should keep its normal shape.
- Wet contacts: dry the outside and do not charge if water may have got inside.
- Burn marks or melted plastic: stop using the battery and charger until you know what caused it.
- Loose fit: a battery that wobbles badly in the charger or tool may have damaged rails or contacts.
If a battery has been hit by a mower, dropped from a shelf, left in heavy rain or run unusually hot, do not just “see if it charges”. That is how people talk themselves into using suspect kit because replacement batteries are expensive.
Dirt and wet grass are not harmless
Garden batteries get exposed to grass juice, dust, fertiliser residue and damp gloves. Wipe the casing with a dry cloth before charging. Do not poke metal tools into the contacts. If dry debris is stuck near the terminals, follow the manufacturer’s cleaning instructions rather than improvising with a screwdriver.
This is where good shed habits overlap with general maintenance. Our guide to cleaning and storing garden tools for winter covers the broader tool routine, but batteries need separate treatment because water and terminals are a bad mix.
Let the battery cool after heavy work
After mowing long grass or cutting a thick hedge, the battery may be warm. Let it cool before charging, especially in summer. Charging a hot battery in a stuffy shed is asking the electronics to work in the worst possible conditions.
Most brand chargers have indicator lights and temperature protection, but I still would not treat that as permission to be careless. Put the battery on the charging bench, clear the area, and wait a bit if it feels more than mildly warm.
Chargers, Batteries and Extension Leads: What Is Worth Buying
The dullest accessory is often the one that matters most: a genuine charger. Fake or no-name chargers are a bad place to save £15, especially with lithium-ion batteries.
Genuine replacement chargers
If the original charger dies, buy the correct branded replacement for your battery platform. As a current UK price check, Bosch lists 18V Power for All chargers around £29-£32 on its UK DIY site, while Screwfix has Bosch 18V chargers around £29.99 depending on model and stock. B&Q lists a new Ryobi ONE+ RC18120 charger at about £41, with cheaper third-party listings appearing elsewhere.
I would buy the genuine Bosch, Ryobi, Makita, DeWalt, Einhell or Stihl charger that matches the battery system, even if it costs £10-£25 more than a marketplace copy. The charger is managing heat, charge rate and cut-off. That is not the part I want built to the lowest possible standard.
Spare batteries and why cheap is tempting
Replacement garden-tool batteries are not cheap:
- Bosch 18V Power for All: roughly £45-£90 depending on capacity and whether it is bundled with a charger.
- Ryobi ONE+ 18V: often about £45-£80 for common compact batteries, more for larger packs.
- Makita LXT 18V: commonly £45-£95 for genuine 3Ah-5Ah packs from UK tool retailers.
- DeWalt 18V XR: usually around £50-£100 depending on Ah rating and promotion.
That price gap is why unbranded batteries are tempting. For low-demand DIY tools, some people take that punt. For garden tools that can draw hard current for mowers, chainsaws, blowers and hedge trimmers, I would be cautious. A poor battery that overheats under load is not good value.
Extension leads and outdoor sockets
If you must use an extension lead in a garage, use a decent one that is fully unwound, rated for the load, and kept away from wet floors. Cable reels can heat up if used coiled under load. For shed or outdoor supply, use proper outdoor-rated sockets and ask an electrician if the setup looks improvised.
Outdoor extension leads are usually about £15-£35. Weatherproof outdoor socket boxes are roughly £20-£50, but installation cost depends on the property. If you are charging batteries regularly in a shed, proper power beats dragging a lead through a door.
For tool choice around cords versus batteries, see our electric, petrol and battery leaf blower comparison and hedge trimmer guide. The more cordless kit you own, the more worthwhile a proper charging spot becomes.
Temperature, Damp and Overnight Charging
Garden batteries age badly in hostile conditions. Sheds can be freezing in January, damp in March and roasting by mid-afternoon in July. A garage is usually better, but it can still get cold, dusty and cluttered.
Charging temperature
Check your manual for the exact charging range. Many lithium-ion tool batteries prefer normal indoor-ish temperatures rather than frost or direct summer heat. If the battery has been sitting in a freezing shed, bring it into a dry, moderate room and let it settle before charging. Do not put it on a radiator to hurry things along.
In hot weather, avoid charging in direct sun, inside a closed plastic storage box, or in a shed that feels like a greenhouse. If the charger fan is running hard or the battery feels hot, stop and let everything cool.
Damp sheds are battery killers
A damp shed is bad for tools generally, but batteries dislike it more than spades do. Moisture can corrode contacts, creep into casings and make chargers unpleasantly dusty and damp at the same time. If your shed roof leaks or condensation runs down the walls, store and charge batteries elsewhere.
A sealed plastic storage box sounds clever until you put a warm battery or charger inside it. Use storage boxes for transport or off-season organisation, not live charging. Chargers need airflow.
Overnight charging is the lazy habit to break
Do not leave garden-tool batteries charging overnight if you can avoid it. Put them on charge while you are awake and around, then unplug the charger when they are done. A charger with automatic shut-off is helpful, but unattended charging still gives you less chance to catch heat, smell, smoke or a failing charger.
Electrical Safety First’s product and appliance safety advice is a useful starting point for household electrical safety habits, especially around safe use and avoiding poor-quality electrical products. For garden batteries, I would add one practical rule: charge before the job or straight after, not at midnight because you forgot.
Storage Between Jobs and Over Winter
Charging safely is only half the job. Storage decides whether the battery is still healthy next time you need it.
Remove batteries from tools
Do not store batteries clipped into mowers, hedge trimmers, chainsaws or blowers for weeks. Remove the pack, check it is dry, and store it separately. That avoids accidental starts, protects the tool contacts, and stops a tool fault becoming a battery problem.
For a cordless mower, also remove the safety key if it has one. Our lawnmower maintenance guide covers blade and deck care, but the battery habit is simple: battery out, key out, tool cleaned, everything dry.
Partial charge is usually better for long rests
For winter storage, follow the manual. Many lithium-ion packs are happiest stored partly charged rather than completely flat or kept at 100% for months. Some systems have a storage mode or battery indicator that makes this easier.
I normally aim for a battery that is not empty, not freshly hot from a rapid charge, and not left forgotten until spring. Put a reminder in your phone for January if you tend to abandon garden kit after the last leaf-clear. No shame. Sheds are where good intentions go to hibernate.
Keep batteries together, but not loose
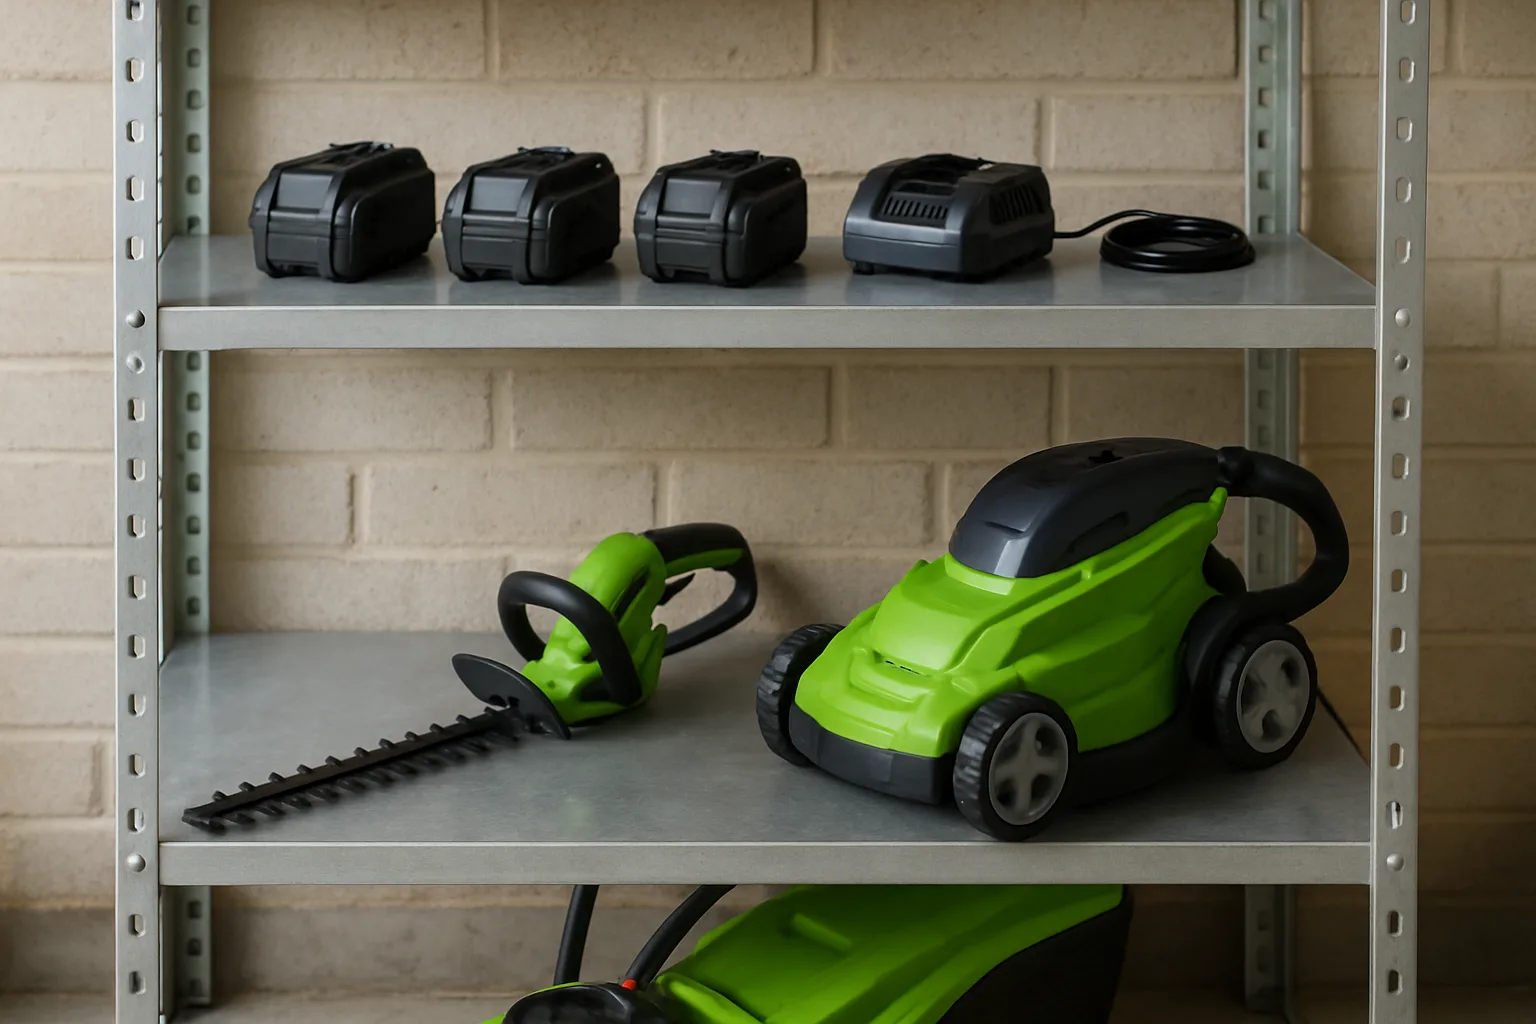
Store batteries on a shelf where they cannot be knocked onto concrete. Do not leave loose metal fixings, screws, secateurs or spare keys rattling around with battery contacts. Use the original caps if supplied, or a simple organiser with separate compartments.
A basic wall shelf or storage bin is usually £10-£30. A lockable metal cabinet is more like £60-£150 and may be sensible if you own several expensive batteries or share a garage with bikes, paint, tools and family chaos. Keep chargers visible rather than buried; if a charger cable gets damaged, replace the charger or lead as the manufacturer allows.
Warning Signs That Mean Stop Using the Battery
The hard part is knowing when to stop using a battery that still works. Because batteries are expensive, people keep giving suspect packs “one more go”. That is false economy.
Stop immediately if you notice these signs
Do not charge or use a battery if it:
- Smells hot, sweet, chemical or burnt: odd smells from a battery are not normal.
- Changes shape: swelling, bulging or splitting casing means stop.
- Leaks: any liquid or crusting around seams or contacts needs proper disposal advice.
- Gets much hotter than usual: especially during normal jobs it used to handle.
- Shows charger errors repeatedly: one dirty-contact warning may be fixable; repeated faults are different.
- Has been crushed or punctured: even if it still clips into the tool.
Move a suspect battery away from combustible material if it is safe to do so. Do not put it in a drawer and forget about it. Contact the manufacturer, retailer or local council recycling service for disposal guidance. Lithium-ion batteries should not go in normal household waste.
Replacement is cheaper than a bad risk
A genuine replacement battery might be £50-£100. Annoying, yes. But if the pack is damaged, the decision is not really between £0 and £80. It is between replacing the battery and gambling with a charging fault in a shed or garage full of things that burn nicely.
The same judgement applies after impact. If a battery falls from a shelf onto concrete and the casing cracks, retire it. If a mower battery gets soaked because it was left in a storm, do not rush to charge it dry with optimism and a tea towel. Let the maker’s guidance lead.
Build a routine that survives real life
The best routine is the one you will actually follow:
- After the job, remove the battery. Let it cool if it has worked hard.
- Wipe off dry dirt. Check the casing and contacts.
- Charge on the dedicated bench. Hard surface, clear space, correct charger.
- Unplug when finished. Put the battery on its storage shelf.
- Check again before the next use. Especially after winter or a drop.
That routine will not make a cheap battery better or a poor socket safe. It does remove the usual avoidable mistakes: damp charging, wrong charger, buried cables, overheating, overnight charging and damaged packs being treated as normal.
Frequently Asked Questions
Can I charge garden tool batteries in a shed? Yes, but only if the shed is dry, has a proper safe socket, and the charger sits on a hard clear surface with airflow. A damp shed powered by a trailing extension lead is a poor charging place.
Should I leave cordless tool batteries on charge overnight? I would not. Charge while you are awake and nearby, then unplug the charger when the battery is full. Automatic cut-off is useful, but it is not a reason to ignore charging kit for hours.
Is it safe to use a third-party garden tool charger? Use the genuine charger where possible. A branded replacement usually costs about £25-£45, and it is the part controlling heat and charge rate. Cheap unknown chargers are not worth the saving.
Can garden batteries stay in the garage over winter? Usually yes if the garage is dry, frost-protected and not roasting in sun, but check the manual. Many lithium-ion batteries store best partly charged and away from extreme temperatures.
What should I do with a damaged lithium-ion garden battery? Stop using it, keep it away from combustible material if safe, and contact the manufacturer, retailer or local council recycling service. Do not put lithium-ion batteries in normal household waste.
Do I need a fireproof charging bag for garden tool batteries? Not usually as the first fix. A proper charger, hard clear surface, good socket, supervision and dry storage matter more. Fire-resistant bags are around £12-£30, but they are not a cure for damaged batteries or bad electrics.