Choosing a garden path is mostly a trade-off between cost, drainage, grip and how much maintenance you can live with. This garden path materials guide keeps it practical: gravel is usually the best value, paving is the neatest everyday route, bark is cheap for informal beds, and porcelain only makes sense when you want a crisp path that matches a modern patio.
In This Article
- The Short Answer: Which Garden Path Material Should You Choose?
- Garden Path Materials Guide: Costs, Pros and Trade-Offs
- Width, Sub-Base and Drainage: The Bits People Underestimate
- DIY or Landscaper: What Installation Really Involves
- Best Path Choices for Different UK Garden Jobs
- Maintenance, Safety and Mistakes to Avoid
- Frequently Asked Questions
The Short Answer: Which Garden Path Material Should You Choose?
For most UK gardens, I would choose a compacted gravel path with proper edging if the route is informal, or concrete block paving if it is the main path to a shed, gate or seating area. Gravel gives you drainage, a softer garden feel and a lower material cost. Block paving costs more, but it is easier to wheel bins, buggies and barrows over without scattering stones into the lawn.
My quick picks
If you want the cheapest decent path, use 10-20mm gravel over a compacted sub-base with metal or timber edging. A large 20mm gravel bag at B&Q is currently about £4.40 for a small bag or roughly £185-£240 for many bulk-bag options, depending on colour and supplier. That is enough to make gravel feel like the sensible default for side paths, vegetable beds and routes that do not need to look formal.
If you want a smarter route, concrete paving slabs or block paving are better. Wickes lists basic Marshalls Richmond concrete slabs from about £4 per 450mm slab and around £19.75 per m2 for some buff options, while larger 600mm slabs can be about £10.50 each. Natural sandstone moves the look up a notch: Stone Paving Direct had Kandla Grey Indian sandstone at about £22.95 per m2 at the time I checked, while mainstream retail slabs can sit closer to £45-£55 per m2.
If you want the least weeding, choose fewer joints, firmer edging and a path you can sweep clean. Porcelain looks crisp and does not absorb much grime, but it is less forgiving to lay. It needs a proper bed, a primer slurry and careful falls. I would not pick it for a casual winding path unless the rest of the garden is already quite contemporary.
The biggest mistake
The mistake is spending the budget on the top surface and skimping on the base. A cheap path on a proper base usually outlasts expensive slabs laid on a few blobs of mortar. If the ground is wet clay, tree-rooted or sloping, the base and drainage matter more than whether you choose sandstone or porcelain.
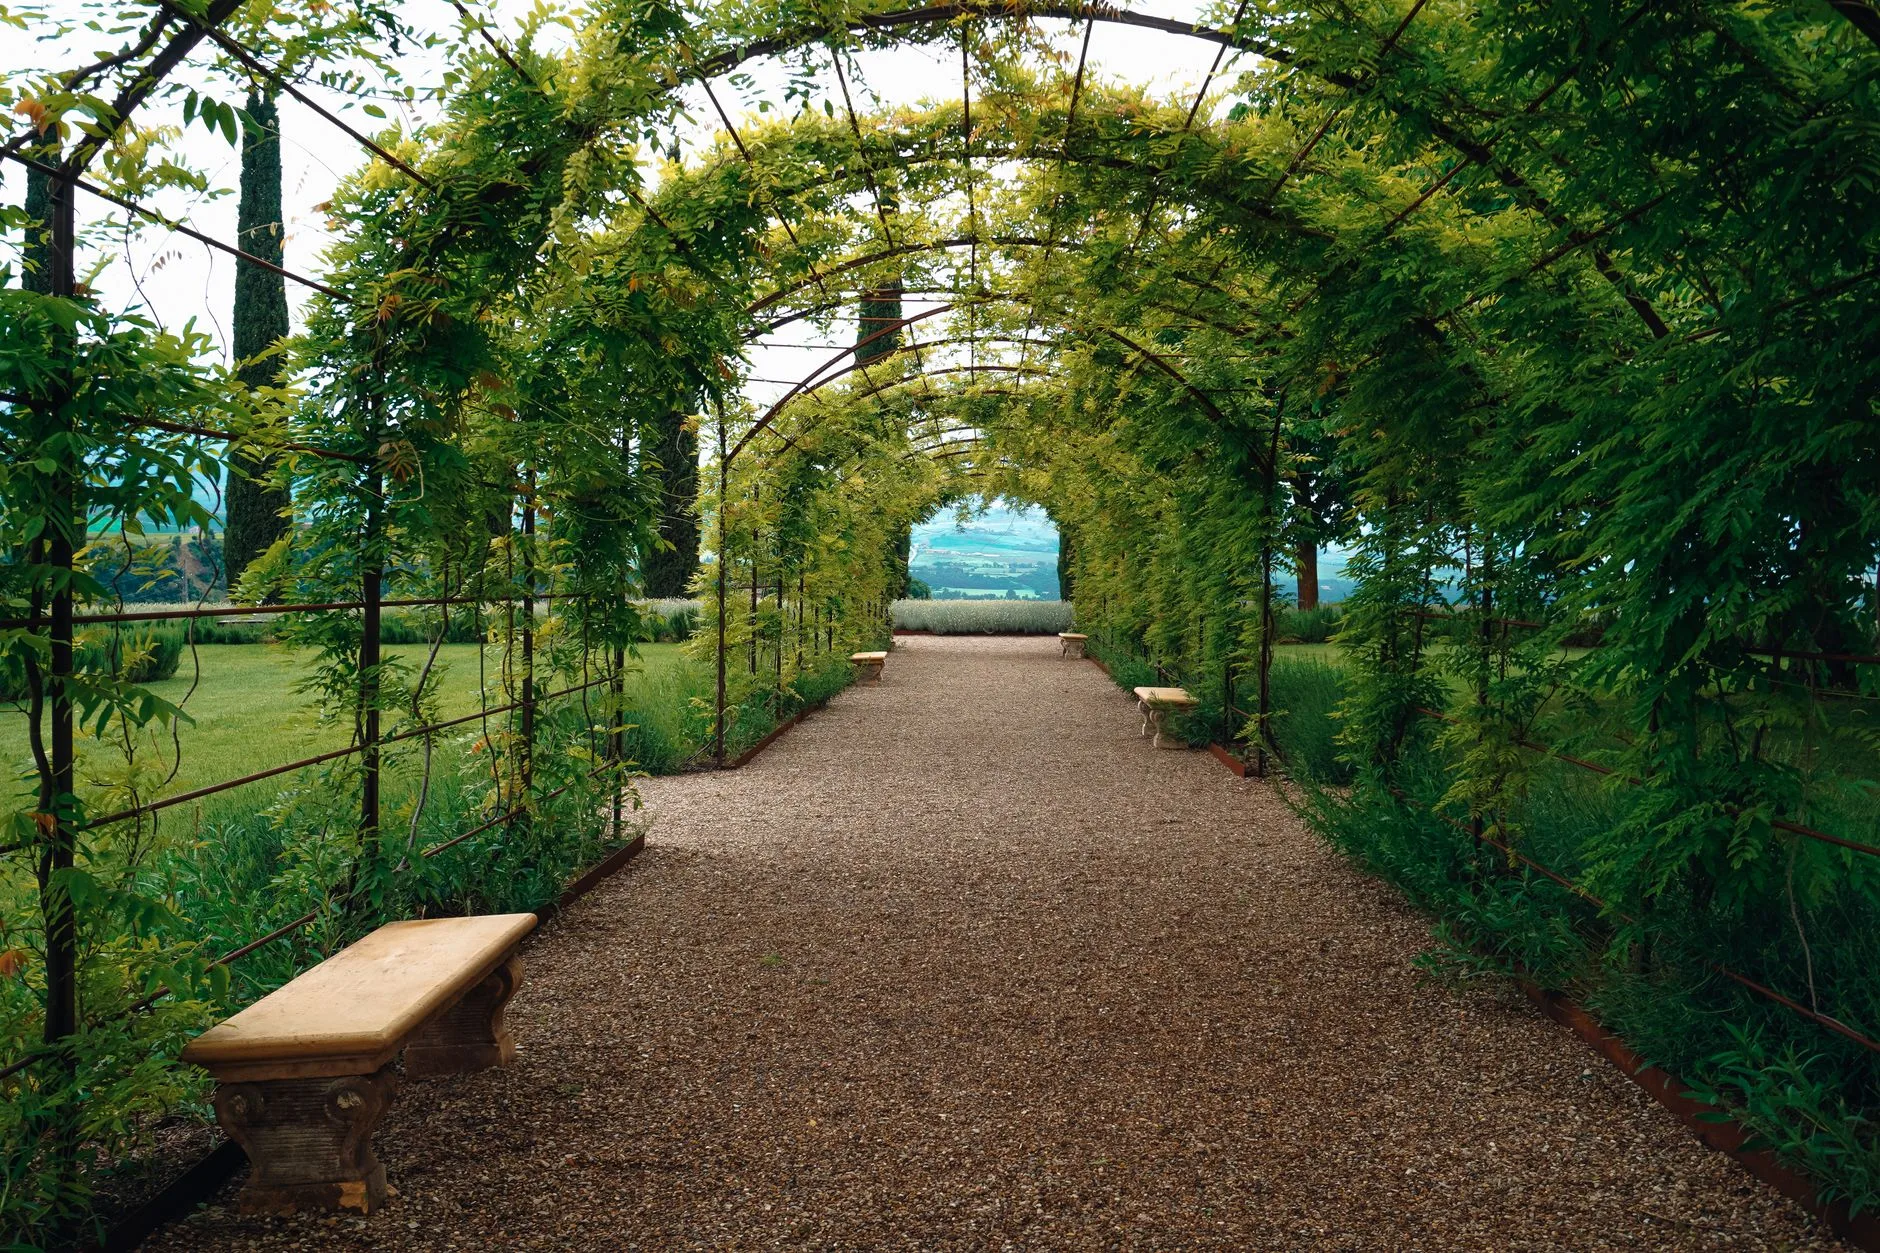
Garden Path Materials Guide: Costs, Pros and Trade-Offs
A good path material suits the route. A narrow path to a compost bin has different needs from the route between the back door and a garden office. Think about shoes, wheels, shade, water and how often the path will be used in winter. If the path is part of a bigger redesign, plan it alongside the principles in our guide to designing a low-maintenance garden in the UK rather than treating it as a strip of hard surface added at the end.
Gravel and decorative aggregate
Gravel is the best-value all-rounder. It drains well, curves easily, suits cottage gardens and can be topped up without relaying the whole path. For a stable walking surface, I prefer angular gravel around 10-20mm rather than pea shingle, which rolls underfoot and migrates into beds. Use a compacted MOT Type 1 sub-base for regular traffic, then a 40-50mm wearing layer of gravel.
Expect DIY material costs from roughly £12-£30 per m2 once you include membrane, edging and sub-base, not just the decorative stone. Cheap gravel without edging is false economy. It creeps everywhere. Metal edging looks clean but costs more; treated timber is cheaper, often about £8-£18 per length from UK DIY retailers, but it will not last as long in damp soil.
The downside is maintenance. Leaves sit in it, cats may treat loose gravel like a convenience, and high heels or small scooter wheels are not its friends. Still, for a garden path that needs to drain and look relaxed, gravel is the material I would buy first.
Bark and wood chip
Bark is cheap and soft underfoot, which makes it useful around raised beds, allotment-style areas and play corners. Bags from garden centres and B&Q often work out around £6-£10 for 70-100 litres, with bulk bags costing much more upfront but less per litre. The appeal is that you can lay it without specialist tools.
The catch is that bark is not permanent. It breaks down, blows around and needs topping up, usually every year or two in a busy route. It is also not ideal for wheelchair access, pushchairs or anywhere you want a clean route into the house. I use bark for garden work zones, not for the main path from the patio.
Stepping stones through lawn or gravel
Stepping stones are the low-commitment option. They work well when you want to cross a lawn without building a full path, or when a gravel route needs a firmer walking line. You can buy basic concrete stepping stones from B&Q, Wickes and garden centres from about £5-£15 each, with decorative or natural stone versions costing more.
Spacing matters more than people think. Lay them out and walk the route before digging. If each step feels slightly awkward, you will notice it every time you carry a mug of tea down the garden. Bed stones on a firm, level base, not straight on grass, or they will rock and become a trip hazard.
Brick and reclaimed pavers
Brick paths have charm. They suit older houses, kitchen gardens and routes near walls. Reclaimed bricks can look brilliant, but they vary in frost resistance, size and condition. For a path rather than a decorative edging strip, use hard engineering bricks or proper clay pavers. Soft old house bricks can flake in wet frosty weather.
Costs vary wildly. Reclaimed bricks may be cheap locally, but delivery can make them less of a bargain. New clay pavers often sit above basic concrete paving, so this is rarely the cheapest route. The reason to choose brick is character and pattern: basketweave, herringbone and soldier-course edging all look more intentional than a plain strip of slabs.
Concrete slabs and block paving
Concrete slabs are practical, widely available and easier to budget than natural stone. They make sense for utility paths, bin routes and garden-office access. Basic slabs from Wickes or B&Q can be around £20-£35 per m2, with textured branded slabs going higher. Block paving is better for curves and repairs because you can lift and relay individual blocks.
The downside is that poor concrete paving looks tired quickly if it is laid flat, shaded and left to grow algae. Choose a slightly textured surface, set a proper fall and avoid pale slabs under trees unless you enjoy cleaning. For a narrow side return, I would rather use darker concrete block paving than cheap pale slabs.
Sandstone, limestone and porcelain
Natural stone is where a garden path starts to feel designed rather than just installed. Sandstone gives warmth and texture; limestone is denser and darker; porcelain is crisp, hard-wearing and low-absorption. Stone Paving Direct showed Indian sandstone from about £21-£23 per m2 for some packs, but retail prices can climb quickly once you choose thicker, sawn or premium finishes.
Porcelain can cost from about £35 per m2 to well over £70 per m2 before adhesives, primer and labour. It is a good choice beside a modern patio or garden room. It is a poor choice for a casual DIY path if you do not already have cutting tools and confidence. Badly laid porcelain can sound hollow, rock at the corners and hold water at the joints. If you are matching a path to a patio, read our separate patio materials comparison first, because patio comfort and path practicality are not always the same decision.
Resin-bound paths
Resin-bound surfacing is smooth, neat and can be permeable when installed correctly over a suitable base. It is good for accessible routes and front-garden paths where gravel would scatter. It is not a budget finish. Installed prices are often closer to driveway territory than DIY path territory, commonly around £80-£150 per m2 depending on base preparation, area and contractor.
I would only choose resin for a high-use route where wheels matter: a front path, side access to a mobility scooter store, or a clean route to a home office. For a winding back-garden path, gravel or paving usually gives better value.
Width, Sub-Base and Drainage: The Bits People Underestimate
Path width decides whether the route feels generous or annoying. A decorative path through planting can be 600mm wide. A normal walking route wants about 750-900mm. Wickes recommends at least 900mm in its garden path laying guide, and that feels right for a main route where two feet, a watering can and a bit of winter coat all need space.
Plan the route before you pick the surface
Walk the route you actually take, not the route that looks prettiest on paper. Paths with sharp corners get cut across. Long straight paths can make a small garden feel narrower. A gentle curve works well, but only if the material suits it. Gravel, bark and block paving handle curves easily; large rectangular slabs fight them.
For access, think about the widest thing that will use the path:
- Bins: a firm surface matters more than a decorative one.
- Wheelbarrows: avoid loose pea shingle and awkward stepping stones.
- Children: choose grip and visibility over pale, slippery finishes.
- Garden furniture: make turns wider near gates and patios.
The base is not optional
For anything more than a light bark path, dig out the route and build it in layers. A typical gravel path might use compacted soil, a weed membrane, 75-100mm of compacted Type 1 sub-base, then 40-50mm of gravel. Paving normally needs a compacted sub-base and a full mortar or suitable bedding layer. Spot-bedding slabs is asking for wobbly corners.
Based on paths I have helped lay, the boring stages are where the quality is won. Straight edges, compacted layers and a fall for water make the finished surface look better even if the material is modest.
Drainage and front-garden rules
Water has to go somewhere. GOV.UK’s front garden surfacing guidance explains that permeable surfaces such as gravel and permeable block paving reduce rainfall runoff, while impermeable areas need water directed to a lawn, border, soakaway or rain garden rather than straight into drains. The Planning Portal gives the same practical rule for front gardens: if the new or replacement surface is permeable, or drains naturally within the property, planning permission is usually not needed.
That matters even for a path, because many side paths and front paths quietly become drainage channels. Avoid sending water towards air bricks, garage doors or a neighbour’s boundary. If the path sits beside the house, include a small fall away from the wall and keep the finished level below damp-proof course. If the garden is clay-heavy, do not assume rain will vanish through a thin gravel layer. Our patio drainage solutions guide covers the same water problem at a larger scale, and the logic carries across to paths.
DIY or Landscaper: What Installation Really Involves
A simple gravel or bark path is a sensible DIY weekend job. A porcelain path beside a house, a resin-bound route or a long paved path with drainage issues is more contractor territory. The difference is not pride. It is tools, waste, levels and the cost of fixing mistakes.
DIY-friendly paths
Gravel, bark and stepping stones are the easiest to tackle. You need a spade, string line, level, tamper or hired plate compactor, membrane, edging and patience. A plate compactor hire can be around £30-£60 per day from UK hire shops, and it is money well spent if the path is longer than a few metres.
For a gravel path, I would use this order:
- Mark the route: use hosepipe for curves, string for straight sections, then walk it both ways.
- Dig out: remove turf and soft soil deep enough for sub-base plus gravel.
- Install edging: fix it before the top layer so the shape stays crisp.
- Compact the base: do not just stamp it with boots and hope.
- Lay membrane and gravel: overlap joins and rake the top layer level.
The material bill for a 6m by 0.8m gravel path can easily land around £120-£250 depending on edging and aggregate choice. That assumes you are doing the digging yourself and not paying for waste removal.
Jobs where labour is worth paying for
Pay for help when the path needs accurate levels, cutting, drainage channels or expensive materials. A landscaper may charge roughly £200-£300 per day for labour, and more for a team. Checkatrade’s block paving guide gives an average block paving labour cost around £250 per day, which is a useful sense-check even though garden path jobs vary by region and access.
Get quotes that separate excavation, sub-base, laying, waste removal and material supply. A cheap quote that says “lay path” without specifying depth is not the bargain it appears to be. Ask what depth of sub-base they plan to use and where water will drain.
What I would not do
I would not lay paving directly on lawn. I would not use interior tiles outside. I would not build a path tight against timber fencing where damp gravel will sit against the boards. And I would not choose white gravel under trees unless the whole household is ready for constant leaf picking. The build-up is simpler than a patio, but if you are laying slabs rather than gravel, the base principles in our step-by-step patio laying guide are still useful.
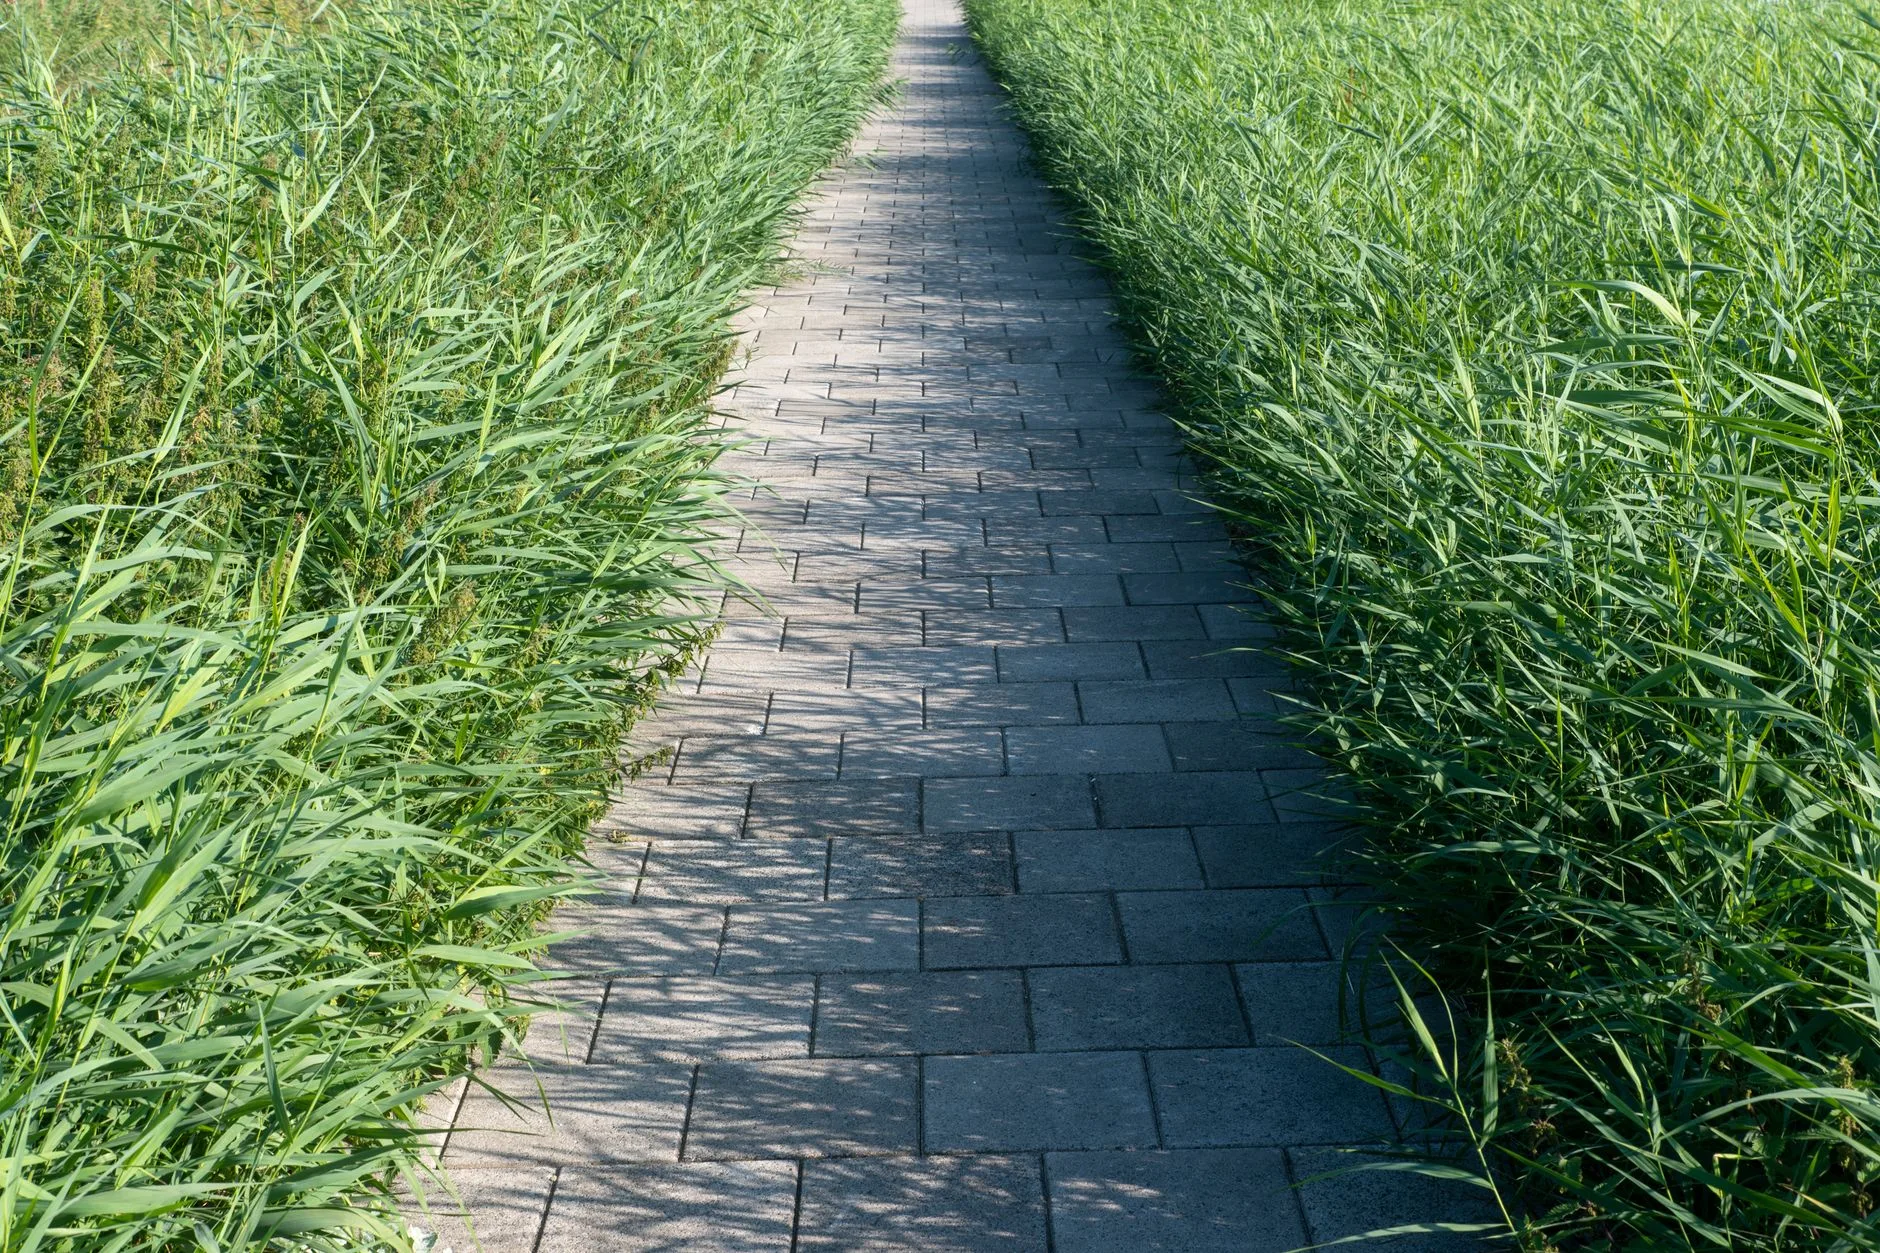
Best Path Choices for Different UK Garden Jobs
The best material changes with the job. A single garden may need more than one path type, and that is fine. Matching every route can look tidy, but it can also waste money where a simpler surface would do.
Back door to shed or garden office
Choose concrete block paving, textured slabs or resin-bound surfacing. This is a daily route, so it needs grip, firmness and easy cleaning. If you carry tools, laptop bags or washing baskets along it, do not use loose gravel unless it is stabilised in a grid. For a tiny paved area beside the house, the space-saving ideas in our small patio guide can help you avoid a path that eats the whole border.
Budget around £35-£70 per m2 for decent DIY paving materials before labour, or more if drainage and excavation are awkward. If the route is narrow and shaded, pick a darker, textured surface that will not show every algae stain.
Vegetable garden and greenhouse paths
Gravel, bark or compacted self-binding gravel work well. The path needs to drain and survive muddy shoes. Around raised beds, bark is comfortable and forgiving, but gravel is better if you use a wheelbarrow often. A 900mm width is generous in a vegetable garden; 600mm can work between beds if space is tight.
One useful trick is to spend on edging rather than fancy aggregate. Crisp timber or metal edges make even cheap gravel look deliberate.
Front garden paths
Use a permeable material unless the path drains clearly into a border or lawn. Gravel, permeable block paving and planted joints all help soften a front garden. The RHS has been pushing greener, more permeable front gardens because they reduce runoff and support wildlife, and that advice fits the way UK rainfall is heading.
For a front path, I would avoid bark, loose pea shingle and shiny porcelain. You want year-round grip, tidy edges and a surface that does not carry mud to the hallway. Concrete block paving or firm gravel in a stabilising grid is usually a better call.
Wildlife-friendly informal routes
Use stepping stones, gravel with planting pockets, or mown grass paths through longer grass. You do not need a hard strip everywhere. Creeping thyme, chamomile and low sedums can soften edges, though they still need the right conditions. In damp shade, planting between stones is harder work than Pinterest makes it look.
Maintenance, Safety and Mistakes to Avoid
No path is maintenance-free. The low-maintenance version is the one that matches the garden conditions. A sunny gravel path with edging may need a rake and occasional top-up. A shaded slab path under trees may need regular cleaning to stay safe.
Routine care by material
Gravel needs raking, weed pulling and top-ups. Bark needs topping up as it breaks down. Concrete slabs need sweeping and occasional algae treatment. Sandstone benefits from gentle cleaning rather than aggressive pressure washing, which can roughen the surface and blast out jointing. Porcelain is easier to clean but shows poor laying quickly because the crisp edges make any unevenness obvious. For joint maintenance, our guide to stopping weeds between patio slabs is directly relevant to paved paths too.
Keep a small reserve of your chosen gravel or jointing material. Colours vary between batches, and a later top-up can look patchy if you cannot match it. Shaded paths also need the same moss and algae attention as patios, so keep our patio cleaning guide in mind for slippery winter sections.
Safety details worth caring about
Grip matters. Avoid polished finishes, especially on slopes. Light-coloured paving can glare in full sun, while very dark paving can look smart but heat up and highlight dust. Steps need consistent risers and visible edges. If the path has a change in level, make it obvious with lighting, contrast or planting breaks.
For lighting, low-level solar lights are cheap, often about £15-£40 for a pack from Argos, B&Q or Amazon UK, but they vary a lot. Mains or low-voltage wired lighting costs more, but it is better for a main route used every evening.
The path test before you commit
Before buying materials, lay out the route with string, hosepipe or spare pots and leave it for a few days. Walk it with a bin, a laundry basket and a mug. If it feels natural, it will probably work. If you keep cutting a corner, redesign it now. Materials are expensive; moving a hosepipe is free.
Frequently Asked Questions
What is the cheapest garden path material? Bark is usually the cheapest for informal garden areas, but gravel is the better long-term budget choice for most paths because it drains well and can be topped up. Allow roughly £12-£30 per m2 for a basic DIY gravel path once edging and sub-base are included.
What is the best low-maintenance garden path? Concrete block paving or porcelain are the easiest to sweep and keep neat, but only if laid on a proper base with good falls. Gravel is lower cost but needs occasional raking and weed control.
How wide should a garden path be? A decorative path can be around 600mm wide, but a main garden path feels better at 750-900mm. Use 900mm or more if you need to move bins, barrows or garden furniture along it.
Do I need planning permission for a garden path? Usually not for a back-garden path, but front-garden hard surfacing can be affected by drainage rules. Permeable surfacing, or water draining naturally into a lawn or border, is the safer route.
Can I lay paving slabs straight onto soil? No. Slabs laid straight onto soil usually rock, sink and hold water. Use a compacted sub-base and proper bedding layer, even for a small path.
Is gravel suitable for pushchairs or wheelchairs? Loose gravel is not ideal. If wheels matter, use compacted self-binding gravel, gravel stabilisation grids, block paving, resin-bound surfacing or textured slabs.