Planning a garden border works best when you decide the shape, height and colour before you fall in love with individual plants. The mistake is starting at the garden centre, buying whatever is flowering that week, then wondering why the border looks busy in July and empty by October. A good border plan is calmer than that: it gives each plant a job, repeats the best ideas, and leaves enough room for everything to grow.
In This Article
- Plan Garden Border Shape Height Colour In The Right Order
- Draw The Shape Before You Buy Plants
- Build Height In Layers
- Choose A Colour Plan You Can Actually Maintain
- Plant For Seasons, Soil And Light
- Budget, Shopping List And UK Prices
- Common Mistakes That Make Borders Look Bitty
- Frequently Asked Questions
Plan Garden Border Shape Height Colour In The Right Order
Before you plan garden border shape height colour details, decide what the border is meant to improve. A border beside a fence has a different job from one beside a patio, a path, a lawn edge or a front window. If you skip this bit, you end up with plants that are attractive individually but useless as a group.
Pick One Main Purpose
For a new UK garden border, I would write one sentence at the top of the plan:
- Softening a hard edge: use shrubs, grasses and loose perennials to make a fence, wall or patio feel less abrupt.
- Adding privacy: build height with shrubs, climbers or small trees, then use perennials in front so the base does not look bare.
- Creating colour near seating: prioritise scent, long flowering periods and plants you can see from the house.
- Improving a dull lawn edge: use a curved or generous straight border to make the lawn look intentional rather than leftover.
- Helping wildlife: choose open flowers, seed heads, berries and shelter instead of short-lived bedding displays.
That job affects everything. A privacy border can justify a £35-£80 shrub or a £25-£60 climbing frame because it solves a real problem. A small colour border near a patio might be better with £4-£9 perennials, a few £2-£4 annuals and one scented shrub rather than a row of expensive statement plants.
Check The Main Viewing Points
The easiest way to keep the scope under control is to mark three viewing points: from the house, from the patio, and from the main route through the garden. A border that only looks good from one angle can still work, but you need to know that before you put the tallest plants in the wrong place.
For wider garden planning, link this border back to your overall layout rather than treating it as a separate island. If you have not done that work yet, read our garden layout guide first, then come back to the border detail.
Draw The Shape Before You Buy Plants
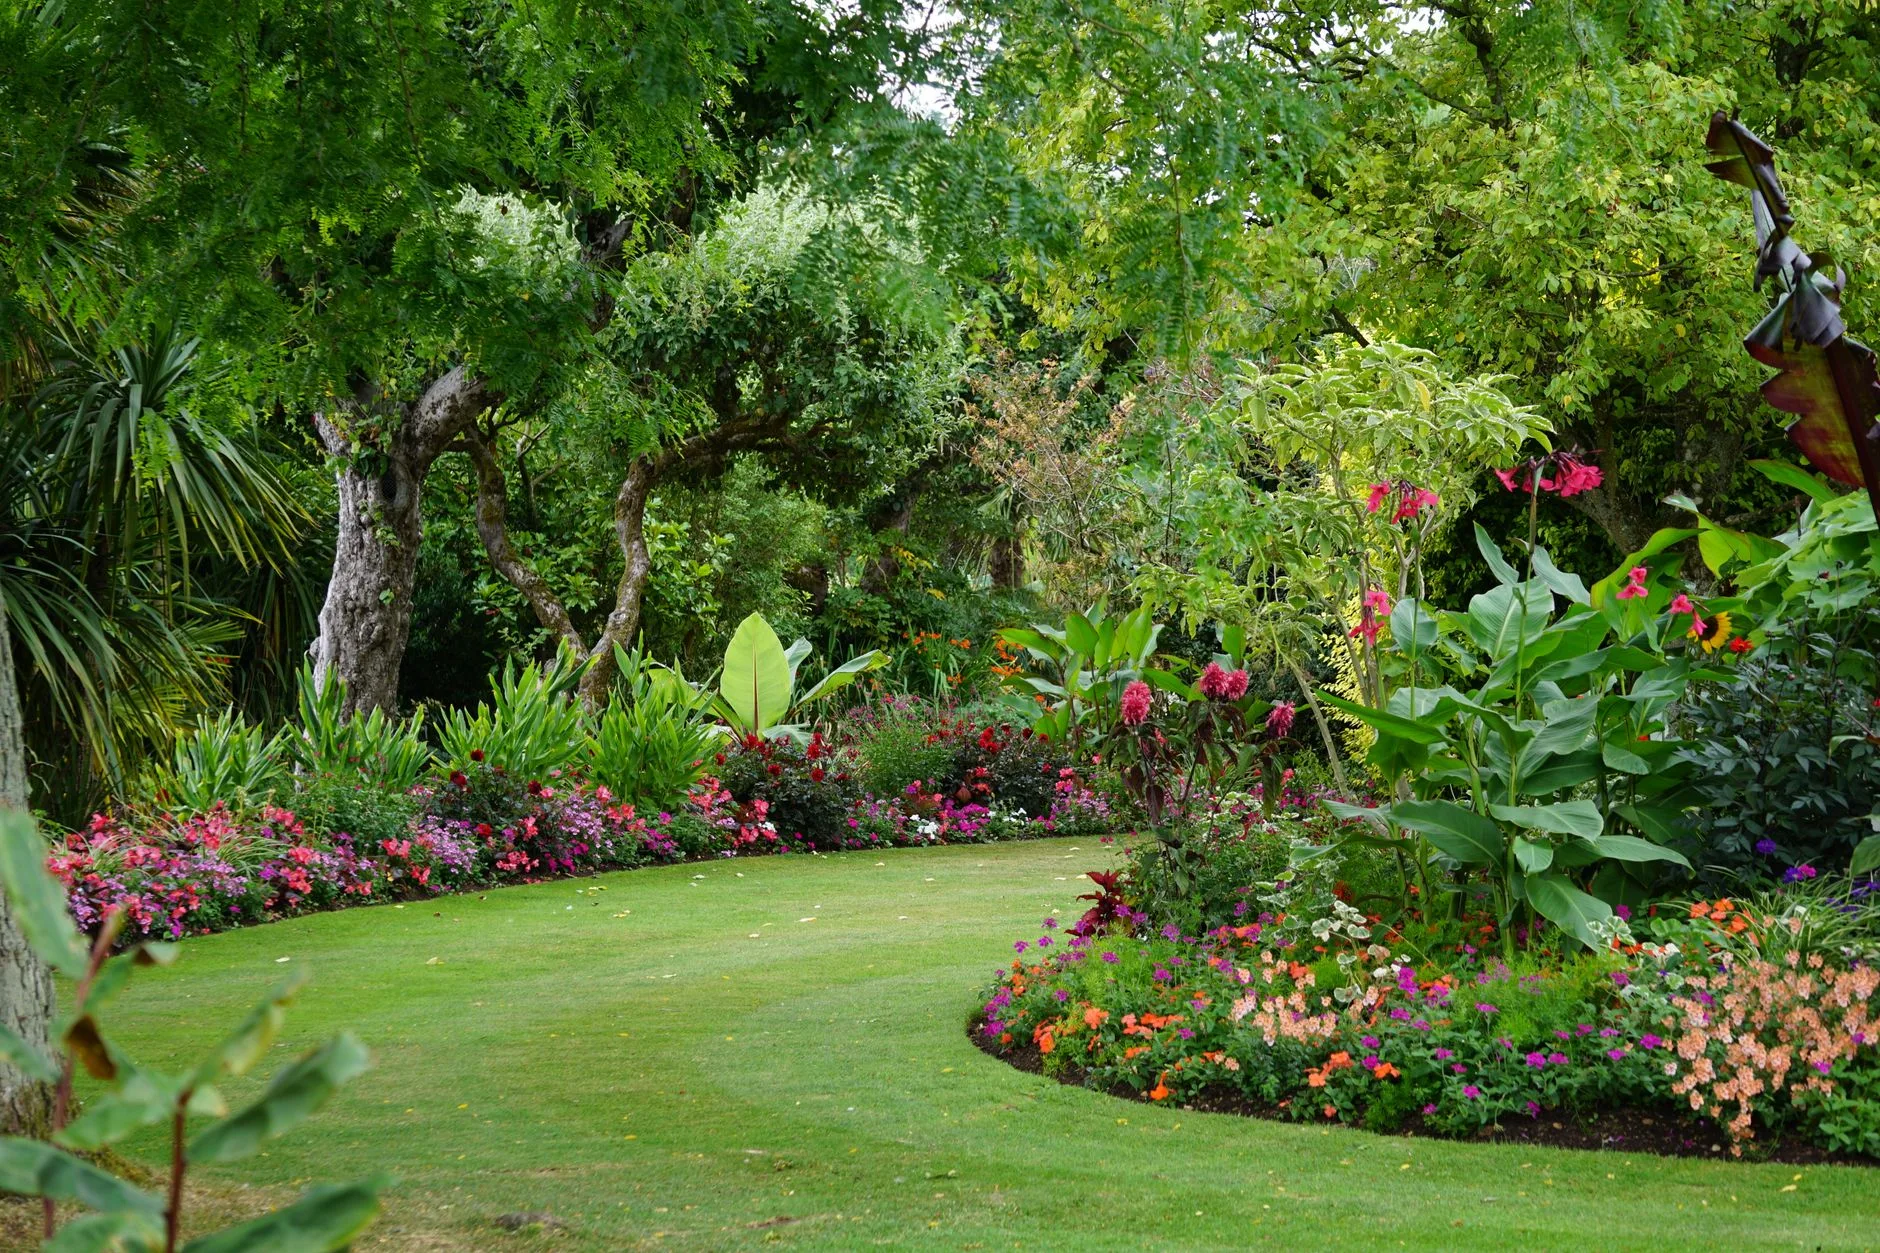
The shape of the border does more work than people give it credit for. A thin 30cm strip along a fence is hard to plant well because there is no room for layers. A 90cm border gives you a front and a back. A 1.2m-1.5m border lets you create proper depth with shrubs, perennials and ground cover.
Choose A Useful Depth
For most UK gardens, these depths are a useful starting point:
- 45cm-60cm: narrow border for bulbs, edging plants, herbs or a low strip beside a path.
- 90cm: practical minimum for a mixed flower border with front and back layers.
- 1.2m-1.5m: enough room for shrubs, taller perennials and repeating groups.
- 2m plus: closer to a proper planted bed, with room for small trees or larger shrubs.
Straight borders suit formal gardens, terraces and narrow side returns. They are easier to edge, mow against and measure. Curved borders suit lawns and informal gardens, but only if the curve is generous. Little wobbles look accidental. One broad sweep looks designed.
Test The Edge Before Cutting Turf
My test is simple: lay out the edge with a hosepipe or a line of string, then look at it from an upstairs window or the back door. If the curve looks nervous, simplify it. If the straight line makes the garden feel like a corridor, widen the border at one end or create a shallow bow.
Think about maintenance access too. If the border is deeper than about 1.2m and you can only reach it from one side, you will eventually stand on the soil to weed or prune. Stepping stones, a hidden maintenance gap or a slightly narrower design is better than pretending you have longer arms than you do.
Edging is optional, but it can make the plan feel finished. Plastic lawn edging from B&Q is often around £8-£20 for a small roll, timber log roll edging is roughly £10-£25 depending on height and length, and metal edging can run from about £35 to well over £80 for longer runs. I like metal or brick for crisp modern borders, timber for cottage-style planting, and no hard edging where plants are meant to spill naturally over gravel or paving.
If the border meets a patio, paths and drainage matter. A bed that throws wet soil onto paving all winter will annoy you quickly. Our guides to garden path materials and costs and patio drainage solutions are worth checking before you cut a big new bed into a paved area.
Build Height In Layers
Height is where many borders either come alive or fall flat. The classic rule is tall at the back, medium in the middle, low at the front. That still works, especially against a fence or wall, but it should not become a rigid staircase.
Use Back, Middle And Front Layers
For a back-of-border scheme against a fence, I would use:
- Back layer, 1.2m-2m: shrubs, tall grasses, climbing plants, obelisks or airy perennials such as Verbena bonariensis.
- Middle layer, 45cm-1m: hardy geraniums, salvias, nepeta, penstemons, heucheras, sedums and compact roses.
- Front layer, 10cm-40cm: alchemilla, erigeron, thyme, small grasses, low bulbs and ground-cover plants.
For an island border viewed from both sides, put the tallest plants down the middle and step down towards both edges. For a border beside a path, leave enough low planting at the front so the path does not feel squeezed every time it rains and the stems flop.
Repeat Height Groups
The trick is to avoid one plant of everything. Repeating the same height group three or five times gives the border rhythm. Three groups of nepeta along the front will usually look better than one nepeta, one dianthus, one geum and one random half-price plant that had a nice label.
Do not make every tall plant dense. A solid 1.8m evergreen block can make a small garden feel boxed in. Airy height is kinder: grasses, verbena, alliums, tall seed heads and open shrubs let light through. Based on UK garden-centre pricing, expect small perennials to cost around £4-£9 each, 2-3 litre perennials about £8-£14, compact shrubs about £12-£25, and larger structural shrubs from roughly £30-£70.
If you already have a shady boundary, use texture instead of forcing colour. Ferns, hostas, hellebores, epimediums and shade-tolerant grasses will do more for a dark corner than a tray of bedding plants that sulk after three weeks. Our guide to shade-loving plants for UK gardens goes deeper on that specific problem.
One practical note: leave the label height room, not the pot height room. A plant sold in a neat 2 litre pot might reach 90cm across after two seasons. If you plant everything at shop-display spacing, the border looks full for a month and overcrowded for years.
Choose A Colour Plan You Can Actually Maintain
Colour is personal, but a planned border usually has fewer colours than a garden-centre trolley. The aim is not to ban joy. It is to stop the border looking like seven unrelated mini-displays.
Pick A Palette Before Shopping
Pick one of these approaches:
- Restricted palette: two main colours plus green foliage, such as purple and white, pink and blue, or yellow and white.
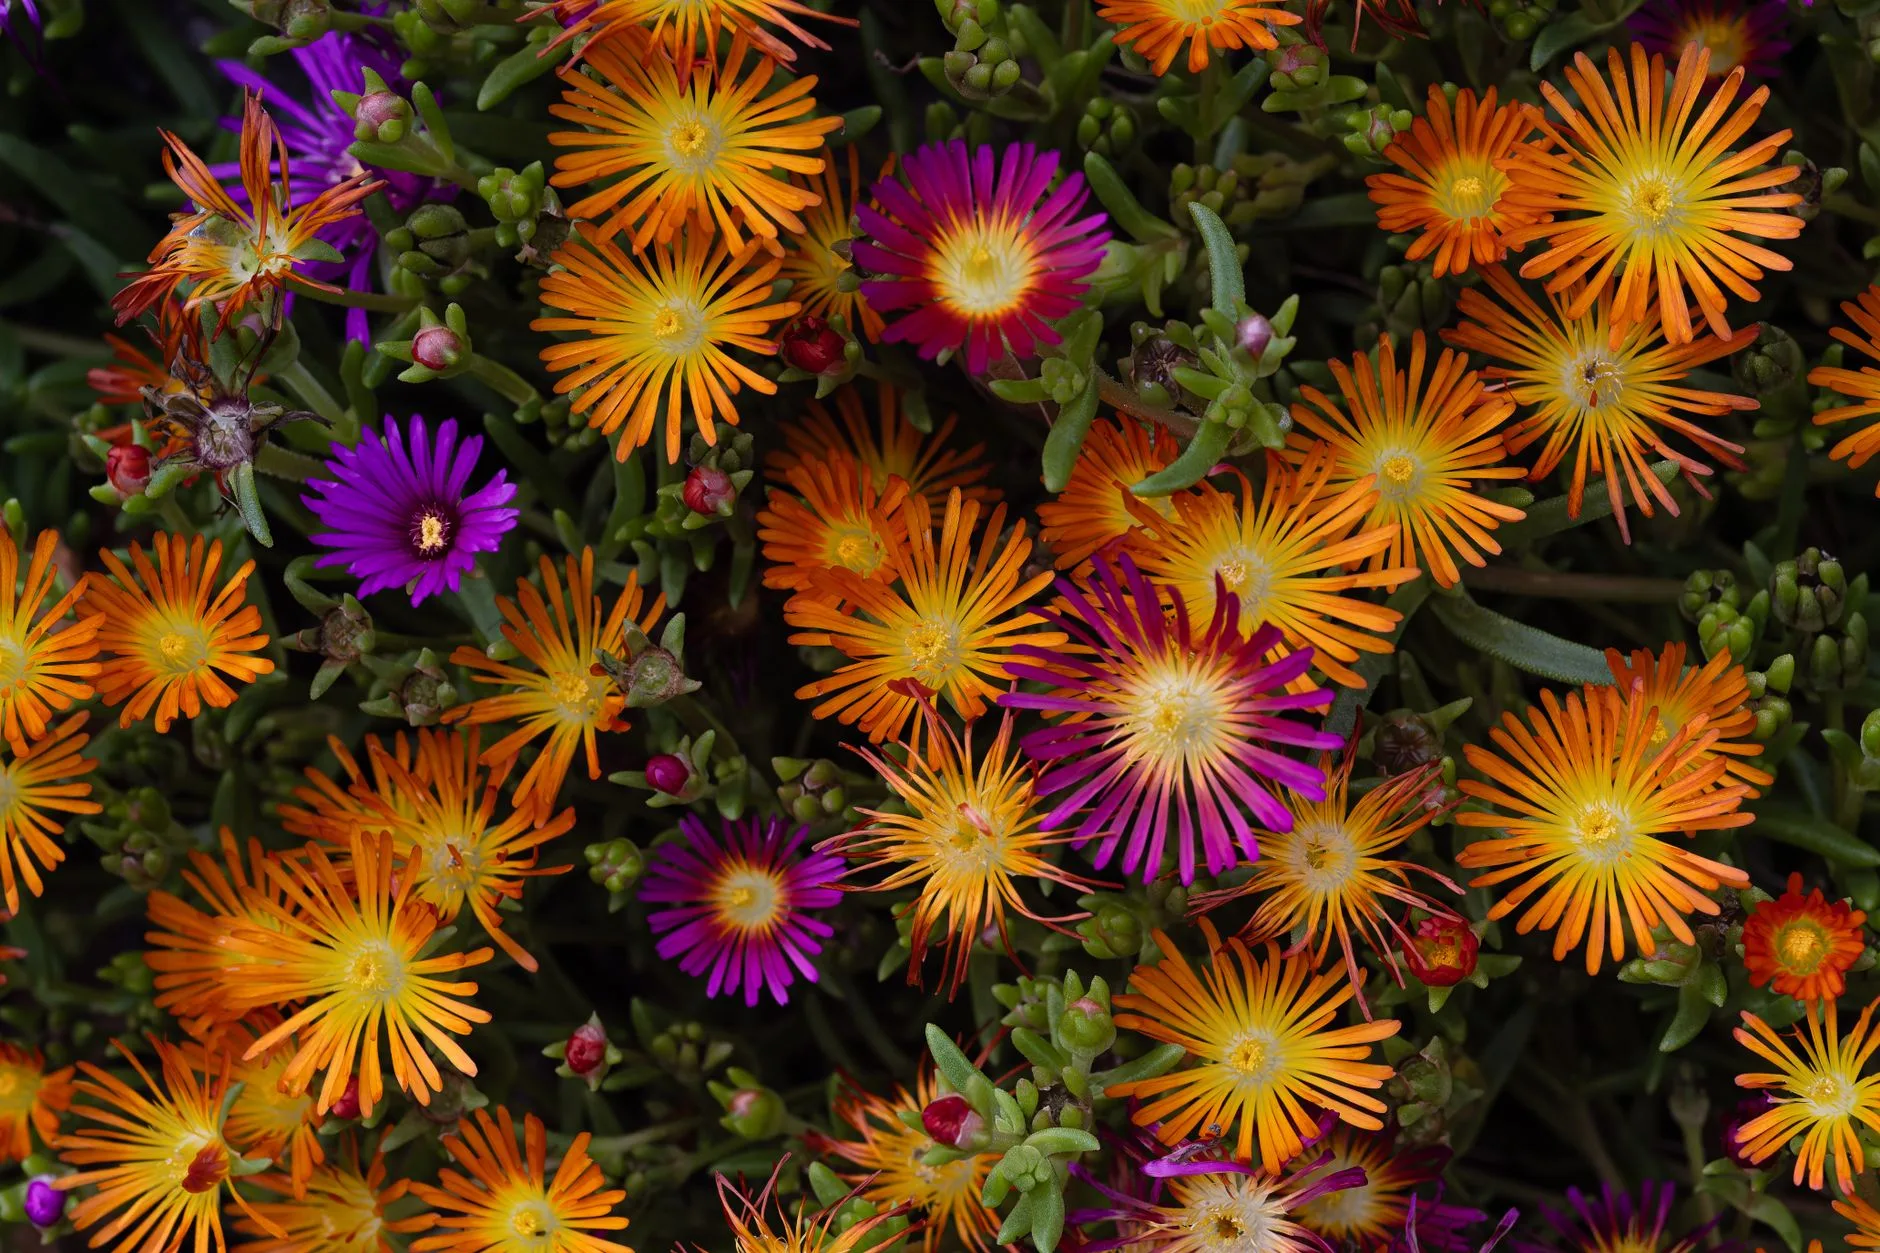
- Warm border: oranges, reds, yellows and bronze foliage for a sunny, energetic feel.
- Cool border: blues, purples, whites and silver foliage for a calmer look near seating.
- Seasonal handover: spring bulbs, early-summer perennials, late-summer colour and winter seed heads rather than one fixed colour scheme all year.
The safest UK border palette is probably green, white, purple and a little pink. It works in sun or part shade, it is easy to buy, and it does not fight most brick, timber or stone. Lavender, salvia, alliums, hardy geraniums, white roses, astrantia, nepeta and hydrangeas can all sit in that world.
Let Foliage Carry The Quiet Months
Warm colours need more discipline. Rudbeckia, helenium, crocosmia, geum and orange dahlias can look brilliant, but they shout. Use them where you want energy, not in every corner of a small garden. If your patio furniture, fence stain and pots are already warm-toned, add some green and white to stop the whole space feeling heavy.
Foliage is the bit people underbuy. Flowers come and go; leaves carry the border on dull Tuesdays in March and wet Saturdays in October. Silver foliage softens strong colours. Dark foliage adds depth. Lime-green foliage wakes up shade. Grasses make planted areas feel relaxed, especially near outdoor seating.
I would spend less on short-lived bedding and more on reliable foliage plants. A tray of bedding might be £6-£12 and gives quick colour, but hardy perennials at £6-£12 each are usually better value over several years. Bulbs are the exception: a £6-£15 bag of tulips, alliums or daffodils can give a border a cheap seasonal lift if you plant them in groups rather than dotting them about one by one.
Keep flower colour away from the edge if the front of the border is messy. Low evergreen or semi-evergreen plants at the front make the whole bed look neater even when the middle is between seasons. That is where plants such as thyme, heuchera, evergreen grasses and low euphorbias earn their keep.
Plant For Seasons, Soil And Light
A border plan that ignores soil and light is just a mood board. The RHS border-planning advice is right to start with practical conditions such as soil, aspect and timing because those decide what will thrive rather than merely survive.
Match Plants To Conditions
In a sunny, free-draining border, Mediterranean-style plants often make sense: lavender, rosemary, santolina, salvia, nepeta, thyme, sedum and ornamental grasses. They suit gravel, brick and pale paving, and they do not need the same watering as thirsty cottage-garden plants once established.
In heavier clay, choose plants that can cope with winter wet and richer soil: hardy geraniums, astrantia, heleniums, persicaria, roses, hydrangeas, dogwoods and many ferns. Clay is not a disaster. It holds nutrients well. The problem is compaction, so add organic matter and avoid walking on the bed when it is wet.
In shade, colour often comes from foliage and spring flowers rather than long summer displays. Hellebores, ferns, brunnera, pulmonaria, epimedium, foxgloves and hardy geraniums are more dependable than sun-loving border plants placed hopefully in a gloomy strip.
For year-round interest, plan in layers of time:
- Spring: bulbs, hellebores, pulmonaria, emerging foliage and early-flowering shrubs.
- Early summer: hardy geraniums, alliums, roses, nepeta, salvia and foxgloves.
- Late summer: grasses, sedums, rudbeckia, echinacea, dahlias and verbena.
- Autumn and winter: seed heads, evergreen structure, bark, berries and clipped shapes.
Wildlife value is not separate from design. Open flowers, seed heads and pesticide-free planting make a border better for pollinators while still looking good. The RHS Plants for Pollinators guidance is useful when you are choosing between two similar plants and want the one that does more than look pretty.
Water And Mulch The First Season
Watering is the unglamorous test. A brand-new border needs regular watering in dry spells through its first season, especially on sandy soil or under trees. A £10-£20 soaker hose can be money well spent if the border is long. For a small bed, a £15-£35 watering can or hose attachment is fine. What matters is watering deeply and less often, rather than sprinkling the surface every evening.
Mulch after planting. A 50 litre bag of bark or composted mulch is commonly around £5-£9 from Wickes, B&Q or garden centres, and you may need several bags for a meaningful layer. It looks tidy, reduces weed germination and helps the soil hold moisture. It is not glamorous, but borders usually look more finished the minute the bare soil is covered.
Budget, Shopping List And UK Prices
You can plan a small border cheaply, but it helps to know where the money goes. Plants are only part of it. Soil improver, edging, compost, mulch, supports and delivery charges can quietly double the basket.
Price The Whole Border
For a 3m x 1m mixed border, a realistic UK starter budget is:
- Budget version, £80-£150: smaller perennials, bulbs, compost, mulch and maybe no hard edging.
- Mid-range version, £180-£350: a better mix of shrubs, perennials, bulbs, soil improver and decent edging.
- Premium version, £500 plus: mature shrubs, specimen plants, metal edging, larger pots or professional help.
For most people, the mid-range version is the sweet spot. It gives you enough structure that the border does not disappear in winter, but it avoids the expensive mistake of buying mature plants before you have fixed the soil and spacing.
A sensible shopping list would be:
- 1-3 structural shrubs: about £15-£40 each from local nurseries, RHS plant centres, Crocus or garden centres.
- 9-15 perennials: about £5-£12 each, bought in repeated groups of three or five.
- Bulbs for seasonal lift: roughly £6-£20 per bag depending on variety and quantity.
- Soil improver or compost: around £4-£8 per bag for 40-50 litres at Wickes, B&Q or garden centres.
- Mulch: about £5-£9 per 50 litre bag, with bulk bags cheaper for larger areas.
- Plant supports: simple bamboo canes from £3-£8, metal plant supports around £8-£25.
- Edging: from around £8 for basic plastic edging to £35-£80 plus for longer metal edging runs.
If the border is large, price it per square metre. A full mixed border can easily cost £60-£150 per square metre if you buy mature plants and hard edging. A slower plan using smaller plants might be closer to £25-£60 per square metre. Smaller plants usually establish better anyway, so patience is not just cheaper; it can be better horticulture.
I would buy locally where possible for shrubs and perennials because you can inspect plant health. Online suppliers are useful for choice, especially bare-root roses, bulbs and specialist perennials. B&Q, Wickes and Homebase are fine for compost, topsoil, bark and basic edging, but garden centres and nurseries tend to be better for named plant varieties.
Do not buy the whole border in one visit if you are unsure. Buy the structure first: shrubs, evergreen anchors, main perennials and soil materials. Add seasonal plants after you have lived with the border for a few weeks. This stops the classic “empty trolley panic” where you fill gaps with plants that do not belong.
If frost is a risk, especially with young plants bought early in spring, check our guide to protecting plants from frost before planting out tender stock. Losing £60 of young plants to one cold night is a miserable way to learn timing.
Common Mistakes That Make Borders Look Bitty
The first mistake is making the border too narrow. A 30cm strip can work for lavender, bulbs or herbs, but it rarely supports a layered mixed border. If the plan needs height, middle planting and a soft front edge, give it enough depth.
The second is buying single plants. One beautiful salvia is a plant. Five repeated through a border is a design. Repetition is what makes a border look planned instead of collected.
The third is ignoring foliage. A border built only around flower colour will have dead months. Mix leaf shapes: fine grasses, broad hosta leaves, fern texture, upright iris leaves, rounded heuchera, soft nepeta. The flowers then sit on top of a structure that still works when nothing is blooming.
The fourth is choosing plants for the garden you wish you had. Sun-loving lavender in wet shade, moisture-loving plants in dry sandy soil, or huge shrubs in a 60cm bed will all punish optimism. Match the plant to the place.
The fifth is making every edge too clean. A crisp edge beside a lawn can look smart, but a little spill-over beside gravel or paving can be lovely. Decide deliberately. Do not let every plant flop over the path, but do not scalp the border into submission either.
The sixth is forgetting the first winter. New borders often look thin after the first flush of summer. Add evergreen structure, seed heads, grasses, bark colour or clipped shapes so the bed still has bones in January. Even one evergreen shrub at each end can make the whole thing feel more settled.
My final check before buying is this: remove any plant from the list that does not support the border’s job, shape, height plan or colour palette. If you still want it, put it in a pot. Pots are where impulse buys can live without wrecking the border.
Frequently Asked Questions
How deep should a garden border be? For a mixed border, 90cm is a practical minimum and 1.2m-1.5m is better if you want shrubs, taller perennials and lower front planting. Narrow 45cm-60cm borders work for bulbs, herbs, edging plants or simple strips beside paths.
Should a garden border be straight or curved? Straight borders suit formal spaces, terraces and narrow gardens. Curved borders suit lawns and relaxed planting, but the curve should be broad and simple. Small wobbles usually look accidental rather than designed.
How do you arrange plants by height in a border? Put taller plants at the back for a border against a fence or wall, medium plants in the middle and low plants at the front. For an island border, place the tallest plants near the centre and step down towards both sides.
What is the best colour scheme for a UK garden border? Green, white, purple and soft pink is one of the easiest schemes to maintain because plant choice is wide and it suits many UK gardens. Warm colours can look brilliant, but they need more restraint in small spaces.
How much does it cost to plant a new garden border? A small 3m x 1m border can cost about £80-£150 on a tight budget, £180-£350 for a fuller mixed scheme, and £500 plus if you buy mature shrubs, premium edging or professional help.
When is the best time to plant a garden border in the UK? Spring and autumn are usually best because soil is workable and plants have time to establish before the hardest weather. Avoid planting into frozen, waterlogged or bone-dry soil.